
Mobile applications with chatbot integration are breaking down barriers in customer communication, significantly improving their experience and offering support at any time of day. We are seeing start-ups such as Lemonade leading the way by changing how consumers perceive insurance; Lemonade isn’t an insurance company creating an app, they are a technology company, offering insurance. Customers can talk to Lemonade’s chatbot and resolve their home insurance claim in just three minutes, a level of service that is currently unheard of from more traditional insurance companies.
In this blog, we will explain how technology can be used to rapidly build a chatbot and expose just how simple it is to dramatically improve, and automate customer engagement through conversational user interfaces.
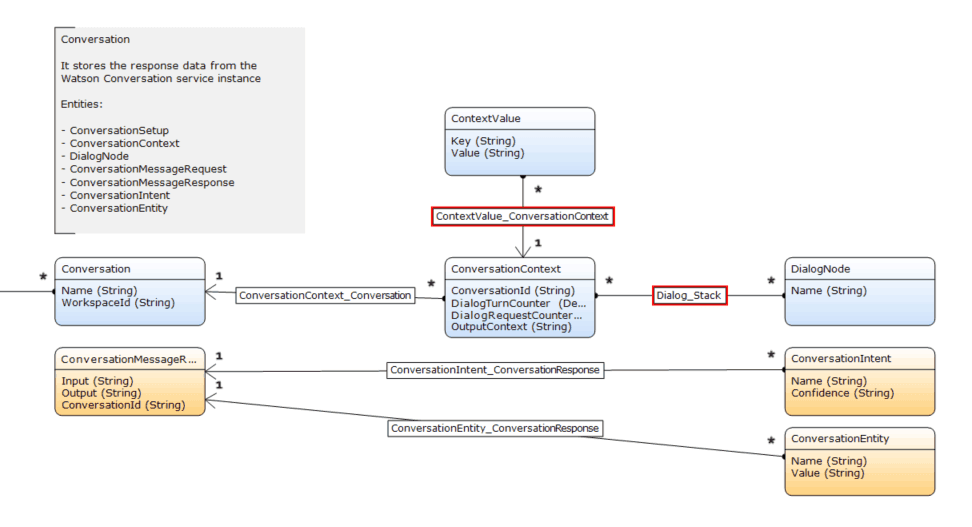
Using IBM Watson Conversation
The Evangelist team at Mendix have built this chatbot as part of our sample Financial Services Customer App. We set out to create four main customer scenarios for the chatbot integration:
- Report a lost credit card
- Report a stolen credit card
- Apply for a credit card
- Start a mortgage application
To achieve our goals, we decided to use IBM Watson Conversation and integrate it into our application. In the following text, we will explain how we set up the chatbot integration, hopefully inspiring you to have a go at building one yourself.
How to Set Up a Chatbot Integration
To get your chatbot (we called ours “Pippa”) responding there are three parts that IBM Watson needs to know to train its brain: Intents, Entities and Dialog.
Intents are actions that the user is trying to do: Apply, Create, Lost, Stolen.
Entities are the objects that your intents interact with: Credit Card, Mortgage.

Dialog is where you bring everything together and create a flow of conversation in a decision tree, as shown below.
While there is an explicit dialog which includes decision points, the beauty is it allows your customer to type however they wish. This means you should plan for every possibility as best you can, but also create a catch all. An example of a graceful degradation for those situations you need further information for is “I’m sorry, I didn’t understand that.”. You’ll need to get others to test it and find out what people’s natural responses are.
In the example below: “Can I get a loan to buy a house?” we have set up ‘Mortgage’ as an entity and added synonyms such as ‘House’, ‘Loan’, ‘Mortgage’ and ‘Morgage’ (intentionally misspelt). These help Watson to find the correct response. In this case, it is “OK, would you like to start a new mortgage application?”
How to make a bot that doesn’t forget
Once trained, your chat bot will respond with appropriate answers based on its setup and training; however, it can be forgetful. If you just told it the purchase price of a house or the deposit value you have available, it will have forgotten after the next chat response. We wanted to use the customer inputs to calculate a new value which would be output in a chat response; this is where we used Mendix to our advantage. Next, we will discuss storing and creating new context variables in Mendix that can be passed back to Watson.
Using Context Value variables
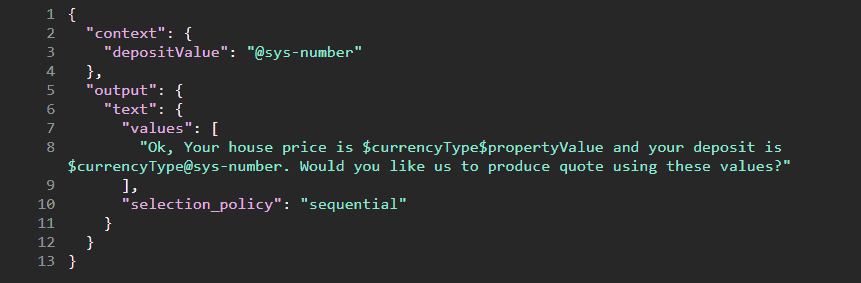
When a person responds with a number in a conversation with our bot, Watson stores this as a temporary variable called ‘@sys-number’. We need to assign this number to a contextValue variable before it’s forgotten. Once assigned we can use this in future chat responses. In the example below I have assigned ‘@sys-number’ to ‘depositValue’.
Passing variables into Mendix
We stored these contextValue variables (propertyValue and depositValue) within the Mendix Domain Model.
The customer is asked for a house purchase price and deposit value, which then allowed us to calculate a Loan to Value within a Mendix microflow and create a new context value (‘LTV’), which can then be passed back into Watson and used later.
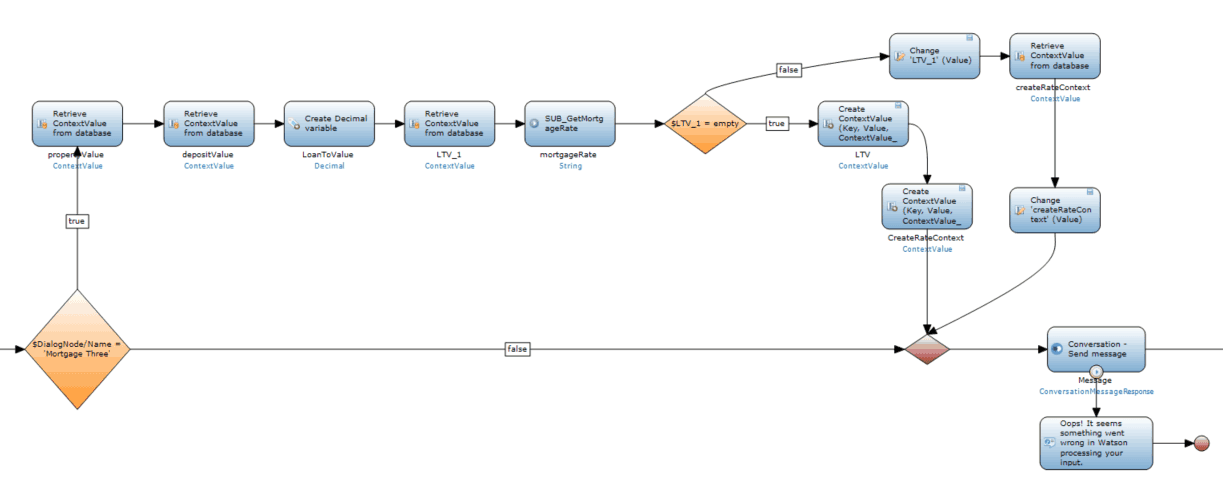
In the next dialogue with the user, “Pippa” can helpfully state: your house value is $300,000, your deposit value is $32,000, and therefore the ‘LTV’ is 89%.
Creating our own logic
The next stage was to create a new contextValue called ‘MortgageRate’; we wanted this to be different depending upon the result of the ‘LTV’. I added a decision point (exclusive split) in a microflow to change the ‘MortgageRate’ variable depending on the LTV result.
As before, I stored this ‘MortgageRate’ Context Value in Mendix and passed this into Watson allowing for ‘Pippa’ to share the ‘MortgageRate’ with the user.
Styling: Making chat more realistic
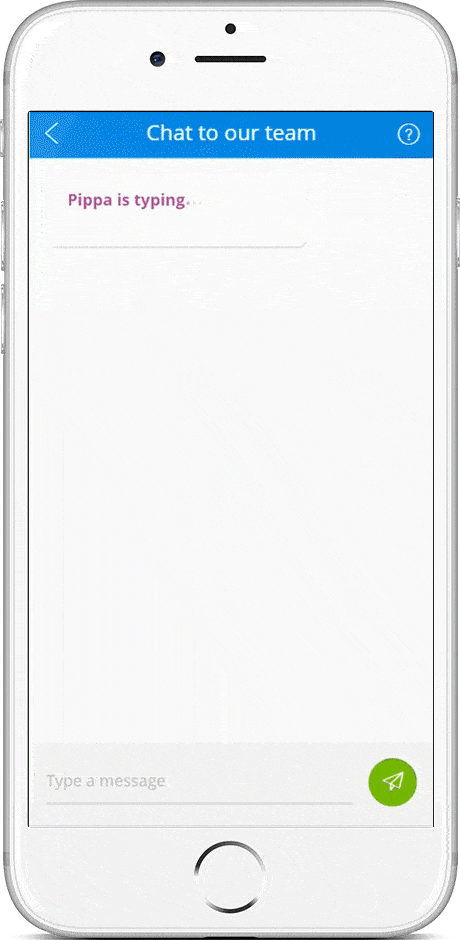
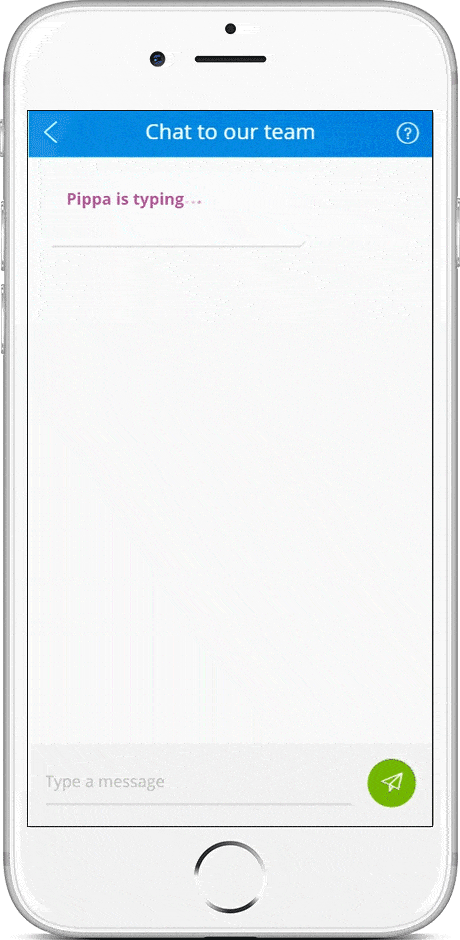
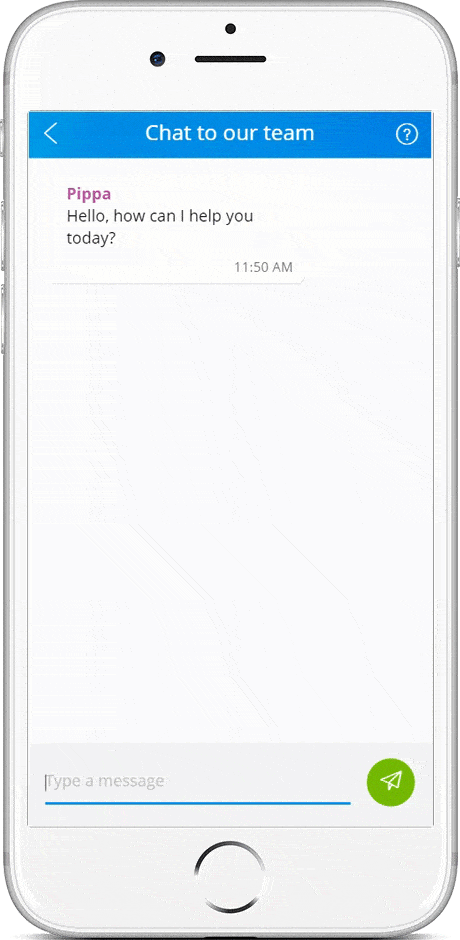
In the initial build, the responses appeared too quickly. It seemed unnatural and odd that a response could be generated in such a short time, leaving the validity of the answer to be questioned. To make the response more human-like, we gave our chatbot a name and, added a delay to the replies. Using a microflow timer, the “Pippa is typing” message is displayed for three seconds before switching to show the response which was hidden for the previous three seconds. We found this made the chatbot more realistic, convincing you that there could be someone typing the response.
Are Robots taking over?
This is not the start of a Skynet style takeover; you’ll still need a great team to design a well thought out user experience, there is no artificial intelligence involved that will build the user journey for you! We found that it is critical to focus on designing a natural conversation flow and then work out what your user might want to do at certain stages in the conversation. It’s just as important to start small with a Minimum viable product (MVP) and iterate the design to add complexity to the responses. When you start testing, you realize where the gaps are and where improvements are required to make the responses more natural.
By creating your own context values in Mendix, you can further enhance your chatbot proposition (i.e. taking values from your own pricing model). We are starting to see companies offering chatbots as a new communication channel, to accept insurance claims, to check on an order status or enabling customers a natural way to get answers to simple queries instead of having to read through longer FAQ pages.
There is a new Mendix App (available on Android and iOS) which you can download for free. In the ‘Apps’ section you can view the Customer Portal app, where you can access the chatbot that we have built (click the hamburger menu in the top left and select ‘Chat’). You could ask the chatbot to tell you a joke.
The new Mendix app will also give you access to the IOT Logistics App and view our new design framework, Atlas UI.
We’ll be experimenting with conversational UI’s and cognitive services, so please check back regularly for more updates. We hope you’ve enjoyed reading about how we created a chatbot using IBM Watson Conversation integrated with Mendix. Now, what will you build?