
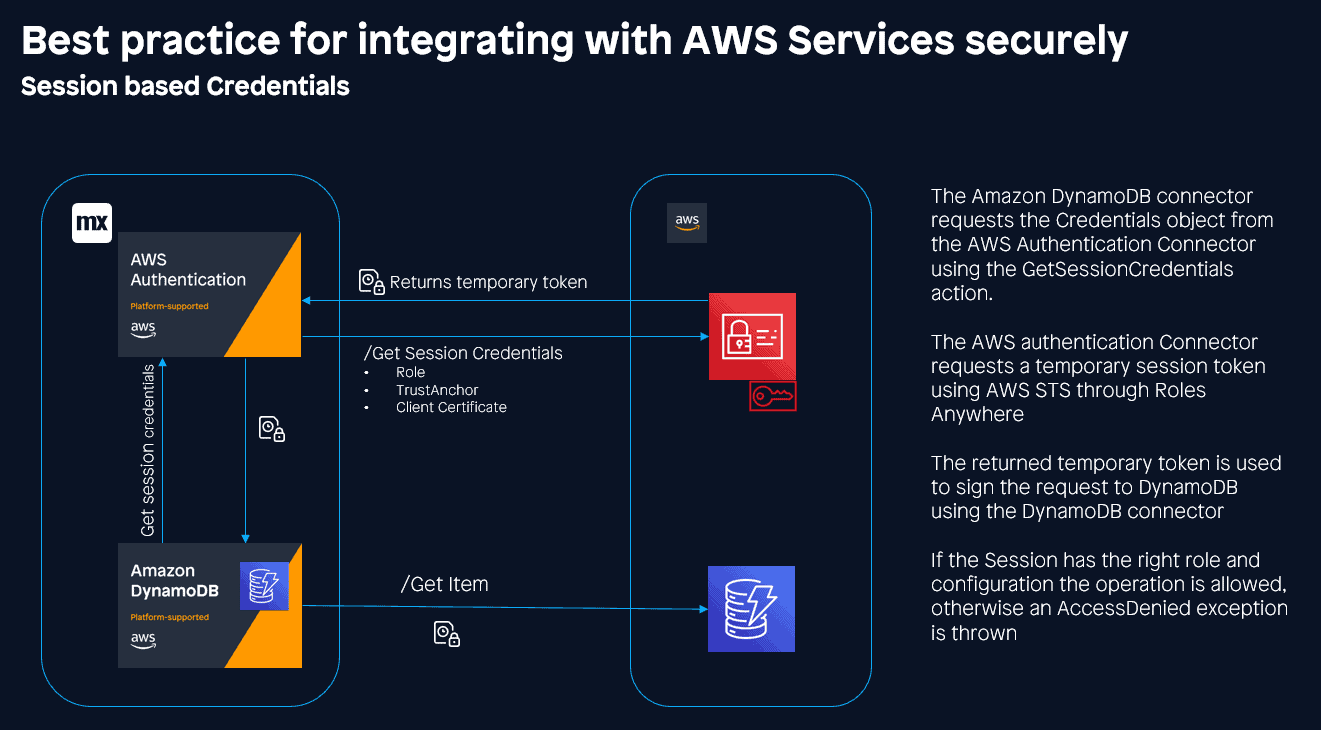
Security is, of course, essential — especially when using pay-as-you-go services like AWS, and so it is crucial that we follow best practices when integrating with AWS services. To this end, the AWS Authentication connector has different means of authenticating — the most secure of which is the use of Session Credentials. This essentially allows your app to adopt an IAM user role for a defined period of time (usually around one hour). Taking advantage of the recently released IAM Roles Anywhere feature.
Certified
This method of authentication makes use of certificates to authenticate your application with AWS. In order to make use of it, you will need to obtain Client Certificates. This is no mean feat if you don’t have access to your own Certificate Authority (CA).
To create a self-signed certificate, we are going to use openSSL which is an open-source command-line tool for cryptographic purposes. You can install openssl here, or you can make use of the openssl that comes with your Git install.
There are other ways of generating certificates. You could use the AWS Private Certificate Authority service or a public certificate service. We are using openssl for two reasons:
- Cost – this is a free command line tool with no cost implications, perfect for development and testing.
- Security – using a public CA as a trust anchor means that all certificates generated by that CA will be trusted, whilst you can limit with policy constraints, this is not recommended.

These commands have been tested on Windows and Linux (sorry Mac users, although I believe they are the same). If you’re using Windows and want to run on the Mendix cloud, ensure that you have openSSL version 3.X installed.
Disclaimer: Creating your own self-signed certificates requires careful attention to detail and may not be suitable for your use case. Make sure you understand the risks involved and that your CA and key are kept secure and secret at all times.
Self-signed certificates
Create Root
The first thing to do is to create a root certificate which will act as your CA and your trust anchor. This will be used to sign all of your additional certificates and has the following requirements:
- Must be in PEM format
- Must be version 3
- Basic constraints must include CA: TRUE
To do this you will need to update your openssl.cnf file. This is a configuration file for openssl and is located where you installed your openssl in the bin folder. Locate the v3_ca section and update it to the below:
[ v3_ca ]
    basicConstraints        =critical, CA:TRUE
    subjectKeyIdentifier    =hash
    authorityKeyIdentifier  =keyid:always, issuer:always
    keyUsage                =critical, cRLSign, digitalSignature, keyCertSign
After that, we need to generate our Private key and create our CA PEM file. We will need to use the RSA or EC algorithm to generate our key.
openssl genrsa -out PrivateCA.key 4096
    openssl req -new -x509 -days 3650 -key PrivateCA.key -out PrivateCA.pem -extensions v3_ca
Here you can provide some identifying information for the certificate:
openssl x509 -in PrivateCA.pem -text -nooutIt’s also a good idea to validate that we have in fact created a v3 certificate.

Client Certificates
Now that we have our CA, we can generate client certificates which we will use to obtain our credentials in AWS. AWS has the following requirements for the client certificate you use:
- Must be version 3 (X.509v3)
- Basic constraints must include CA: FALSE
- Key usage must include Digital Signature
- Signing algorithm must include SHA256 or stronger.
To meet these requirements, we must first create an extension file, which we will call when generating our certificate. Put a file named v3.ext in the same directory as your root certificate, with the following content:
authorityKeyIdentifier=keyid,issuer
    basicConstraints=CA:FALSE
    keyUsage = digitalSignature, nonRepudiation, keyEncipherment, dataEncipherment
Now for our certificate, first we create a key:
openssl genrsa -out client.key 4096Then we create a new certificate:
openssl req -new -key client.key -out client.csrLastly we sign it with our root CA:
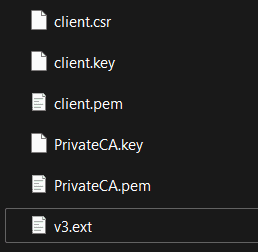
openssl x509 -req -in client.csr -CA PrivateCA.pem -CAkey PrivateCA.key -set_serial 01 -out client.pem -days 3650 -sha256 -extfile v3.extWhen this is done you should have the following files in your Certificates folder:
There is one more step to be able to use our certificates in our Mendix application: We need to export our client certificate to the pfx format which can be uploaded to our app.
openssl pkcs12 -export -in client.pem -inkey client.key -certpbe PBE-SHA1-3DES -keypbe PBE-SHA1-3DES -macalg sha1 -out client.pfxYou will need to specify a password which you will need to use later.
You can now use these certificates to connect your Mendix application to AWS services.
AWS
The next step is to pass your root certificate into IAM Roles Anywhere and connect it to the IAM role you want to use.
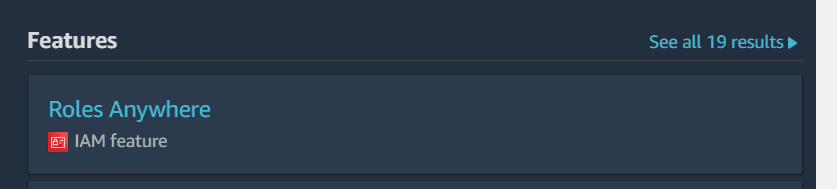
Open your AWS console and search IAM Roles Anywhere.
We are going to start by creating a Trust Anchor connected to our root CA. Give the Trust Anchor a name, and select External certificate bundle in the External certificate bundle before pasting the content from PrivateCA.pem:
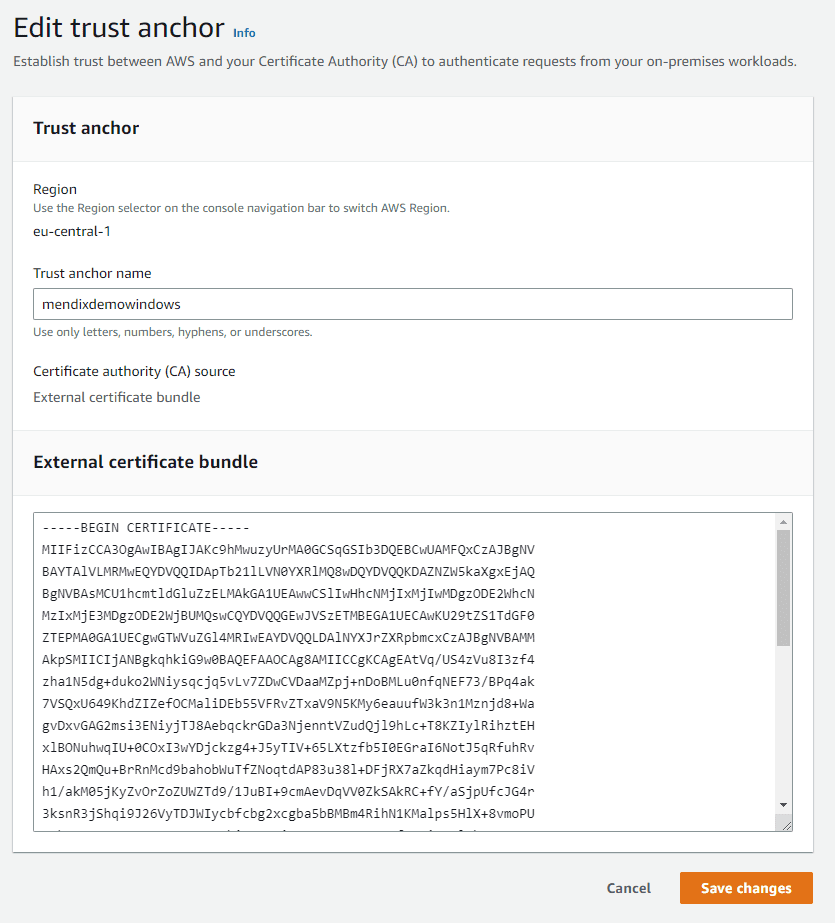
Ensure that the Trust Anchor is in the same region as the services you want to use.
Once you have your Trust Anchor you will need an IAM Role to assume. Create a new IAM role and add a Custom Trust Policy:
  {
      "Version":"2012-10-17",
      "Statement":[
        {
          "Effect":"Allow",
          "Principal":{
          "Service":"rolesanywhere.amazonaws.com"
        },
        "Action":[
            "sts:AssumeRole",
            "sts:SetSourceIdentity",
            "sts:TagSession"
          ]
        }
      ]
    }
You will then need to add an IAM Policy. Note that it is recommended to grant the minimal permissions required by the role. Here we are giving rights to interact with the mendixdemo.com S3 bucket.
{
"Version": "2012-10-17",
"Statement": [
{
"Effect": "Allow",
"Action": [
"s3:PutObject"
],
"Resource": "arn:aws:s3:::mendixdemo.com/*"
}
]
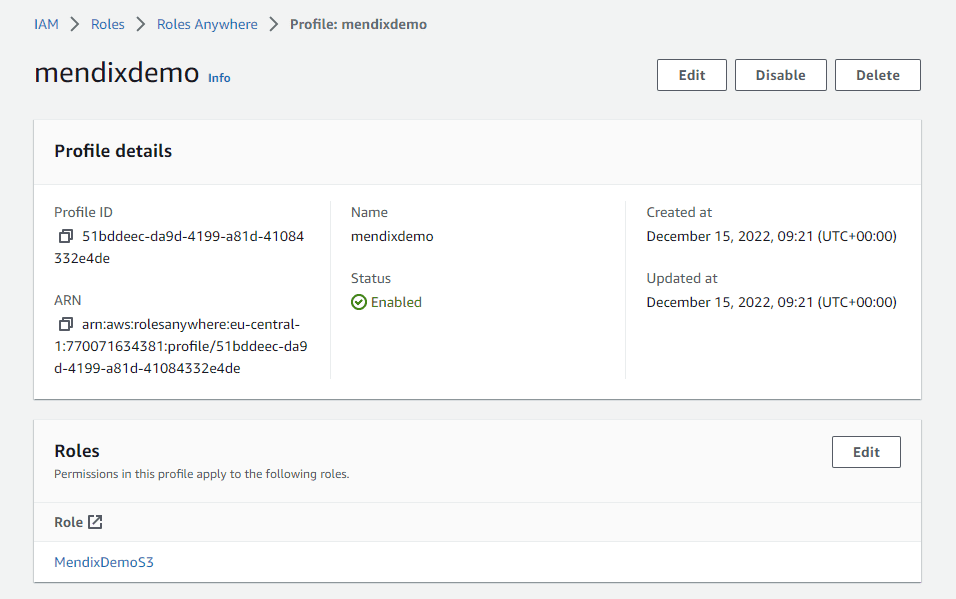
}Up next you will need a profile to assume this role, so search IAM Roles Anywhere again and create a profile, assigning the role we just created
Mendix Local
At this point, we can use our certificates and AWS roles to integrate within our Mendix app. We will start with local development. To demonstrate, I’ve set up a simple demo project, and have downloaded the AWS Authentication connector and the S3 connector from the marketplace.
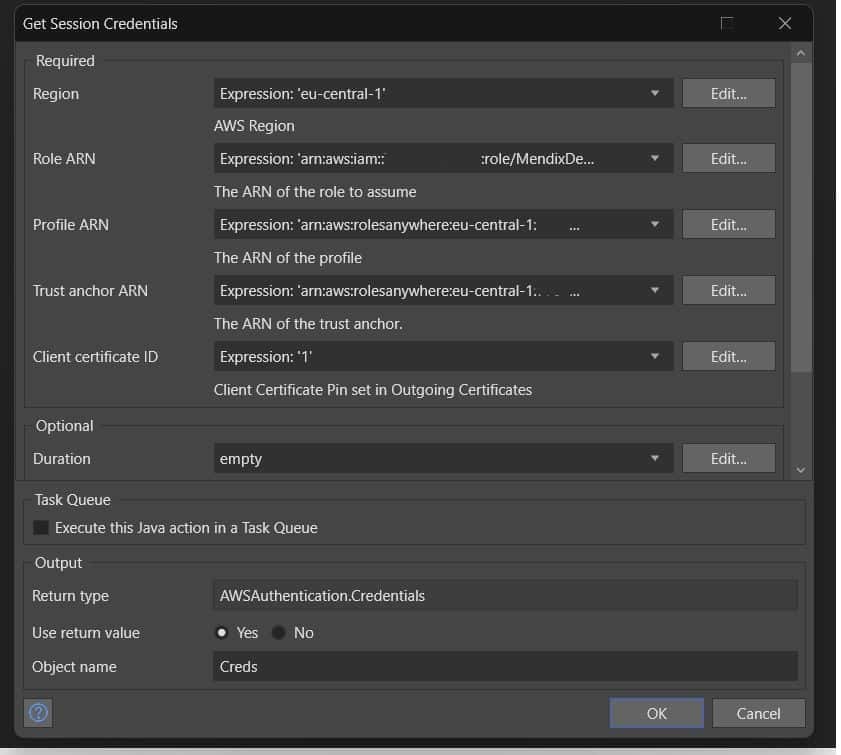
Let’s start by configuring our AWS connector. It just needs the ARNs of the items we created.
Next we will add the S3 connector to allow us to upload to the S3 bucket we defined in our policy.

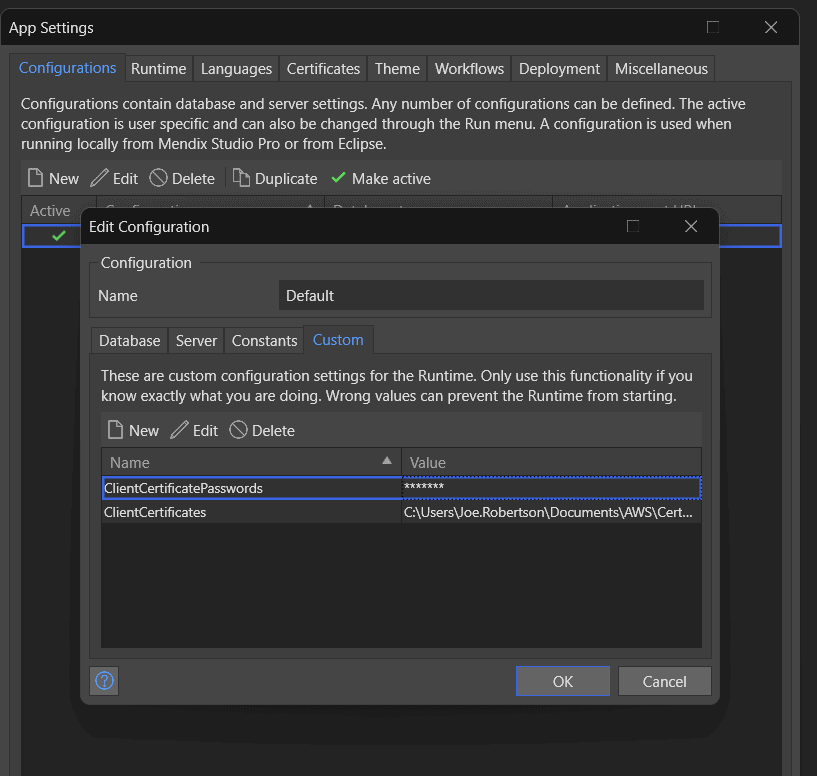
Hold on…aren’t we forgetting something? What was the point of all that certificate generation if we aren’t going to use them? We need to tell our app where to find our certificates! We started that by setting the Client certificate ID to ‘1’. Now we need to update our Runtime settings App->Settings->Configurations and add two custom runtime configurations:
- ClientCertificatePasswords – the password you added when you generated your pfx.
- ClientCertificates – the location of your certificate on your local machine.
If we test this now, we can see that we can upload to our S3 bucket!
Mendix Cloud
We can do this locally which is great, but now we need to be able deploy to the cloud which will require a licensed environment. For these instructions, we are using “Mendix Cloud” but the principles are the same for “Mendix For Private Cloud”.
Our first change is actually a configuration update to set the application constant AWSAuthentication.ClientCertificateID to the value of the certificate id, which can be configured on the environment. You have use to a unique value when there are more certificates, so think of a meaningful value. For example “AWS_Auth” :

We then need to set our client certificate in our Mendix environment. Open your environment and navigate to Network and add a client certificate. Upload your client.pfx file and provide the password you used to create it.
Then select the certificate and click Edit from the three dots under Actions:

In the Edit screen, create a new ‘Pin’ id with the value you’ve configured for constant AWSAuthentication.ClientCertificateID, so in our example “AWS_Auth”.

Then restart the application to make it work.
Conclusion
We’ve seen how the AWS Authentication can be used to take advantage of state of the art IAM solutions from AWS, to allow us to connect Mendix applications to AWS resources in the most secure way possible.
To make this process simpler, we’ve created two batch files to create the self signed certificates – download for Windows and Linux/Mac.
To learn more about the Authentication connector check out the docs: https://docs.mendix.com/appstore/connectors/aws/aws-authentication/
To see more about Mendix and AWS: