
Often I’ve found when testing locally I couldn’t recreate a bug from a Test environment, or access functionality because I didn’t have the proper data. In some cases, it would be much quicker to simply take the data from my test environment and use it on my local machine. Here is a step by step guide on how to get data from your Mendix Cloud testing environments restored on your machine for testing.
Start by downloading and installing pgAdminIII (download). During the installation you will create a username and password which you’ll need later on in this tutorial.
To download the database backup, go to the deploy section of your project dashboard and go to the Backup tab:
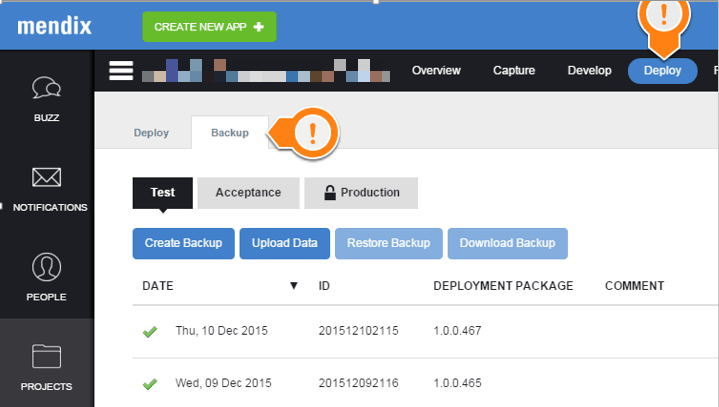
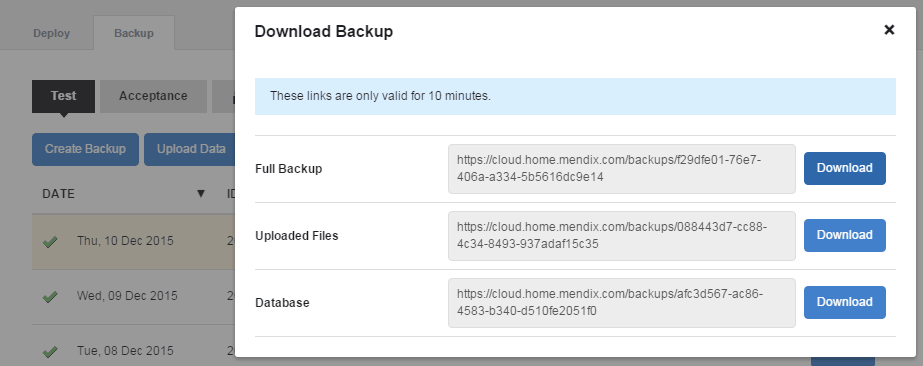
You can now choose to create a new backup or select an existing one. A full backup is typically what I download, but just the DB can be useful as well.
The downloaded files have the tar.gz extension. When you extract the files, you can find the db.backup file in the ‘db’ folder:
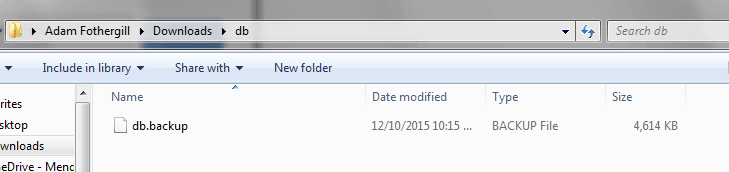
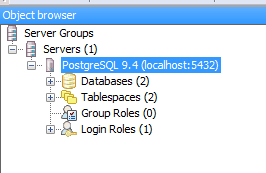
This is the file you will use. If you then open pgAdmin you will see this view:
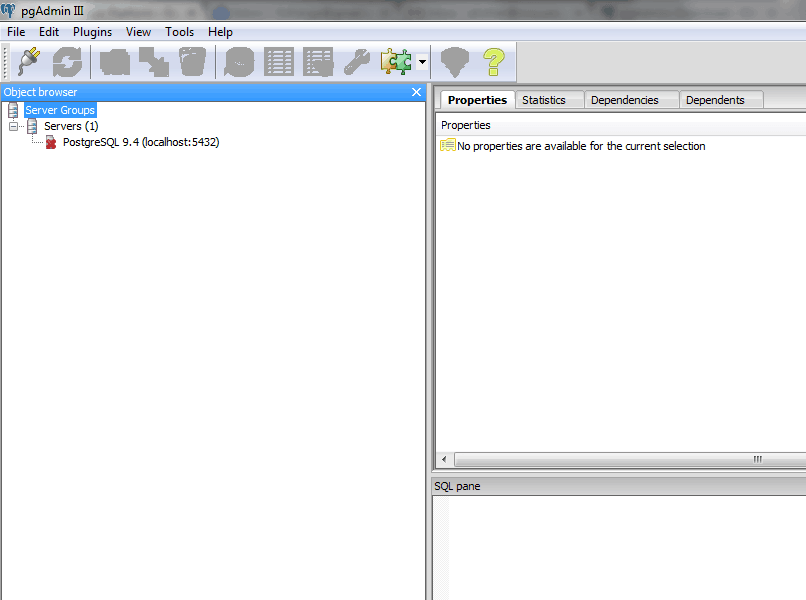
Right-click the PostgreSQL server and ‘Connect’, you should get this:
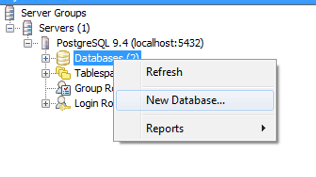
You will have 0 Databases. Right click on Databases and select ‘New Database…’
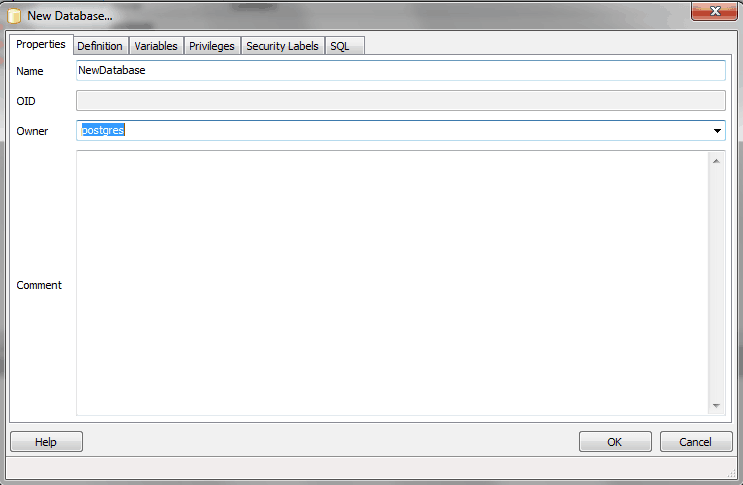
Create the new DB, setting the Owner to the user you created earlier (mine is named postgres):
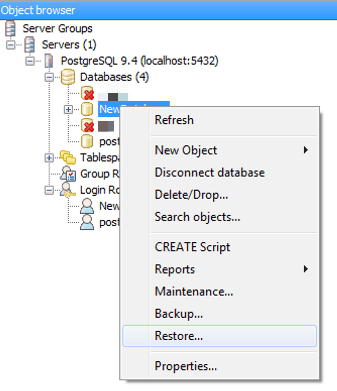
Once that is created, right click on NewDatabase and select ‘Restore’.
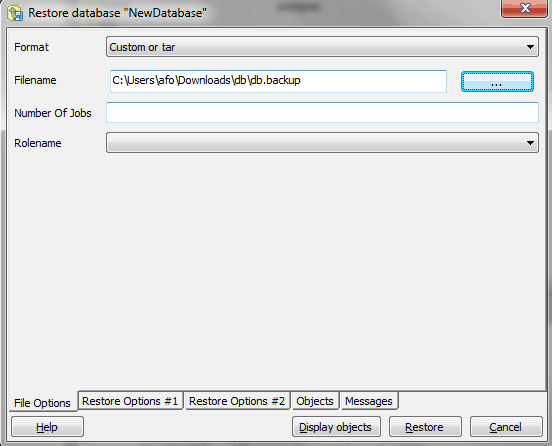
In the popup, select the db.backup file we downloaded earlier, and select ‘Restore’:
It will take approximately 30 seconds, and then you will see something similar to this:
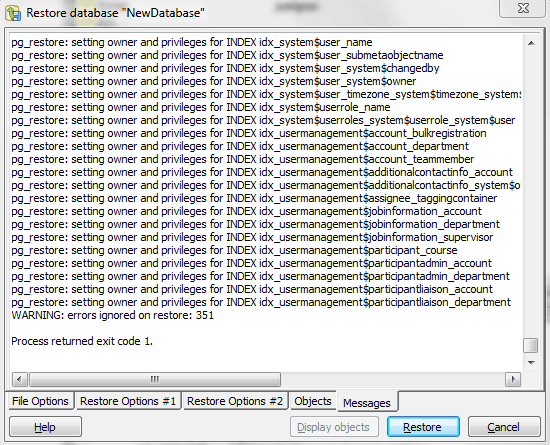
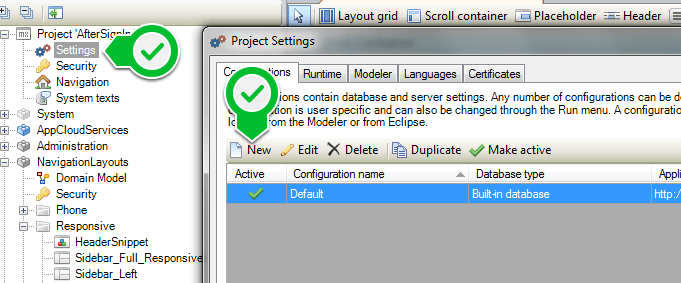
You can then hit ‘Cancel’. Then we must update our modeler to point to the new DB. Open the project settings and create a new configuration:
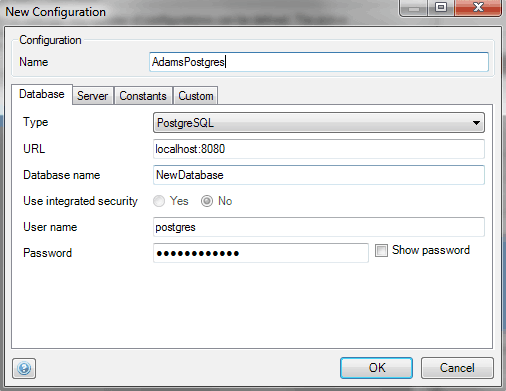
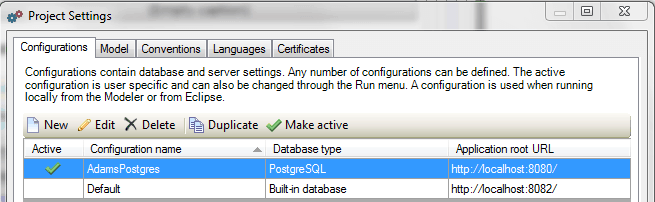
In the new configuration, set the type to PostgreSQL, the URL to localhost, change the Database name to whatever you set (in my example, NewDatabase) and use the username and password that was set during the installation of pgAdmin as the owner of the DB. The name of the configuration can be whatever you want – it will be committed to the Team Server, so I would suggest including your name in it so you can easily identify yours:
Make sure this is the active configuration, and start your application:
You will now have a local test DB!
Please be aware these backups include the usernames and passwords from those environments (except for MxAdmin). You will want to update the passwords of users so you can sign in as a specific other user.