Create, Run and Deploy a Hello World App in Mendix

For all the blogs I’ve put out on really technical things, it always surprises me when people ask me simple questions about the platform. To remedy that, I’ve written a series of quick and to-the-point how-to’s which cover basic but essential things, that every app needs…starting with just creating and deploying your app.

How to Create and Deploy, a Hello World App using Mendix.
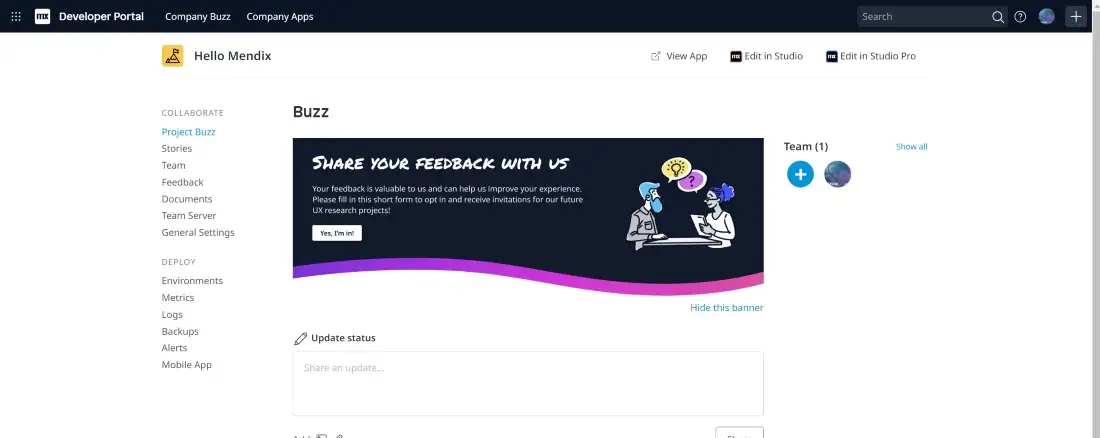
Starting from the Developer Portal click ‘Create App’ at the top, right-hand side and step through the process.

Enter a name for the app, select an icon and app color, and click “Create App”
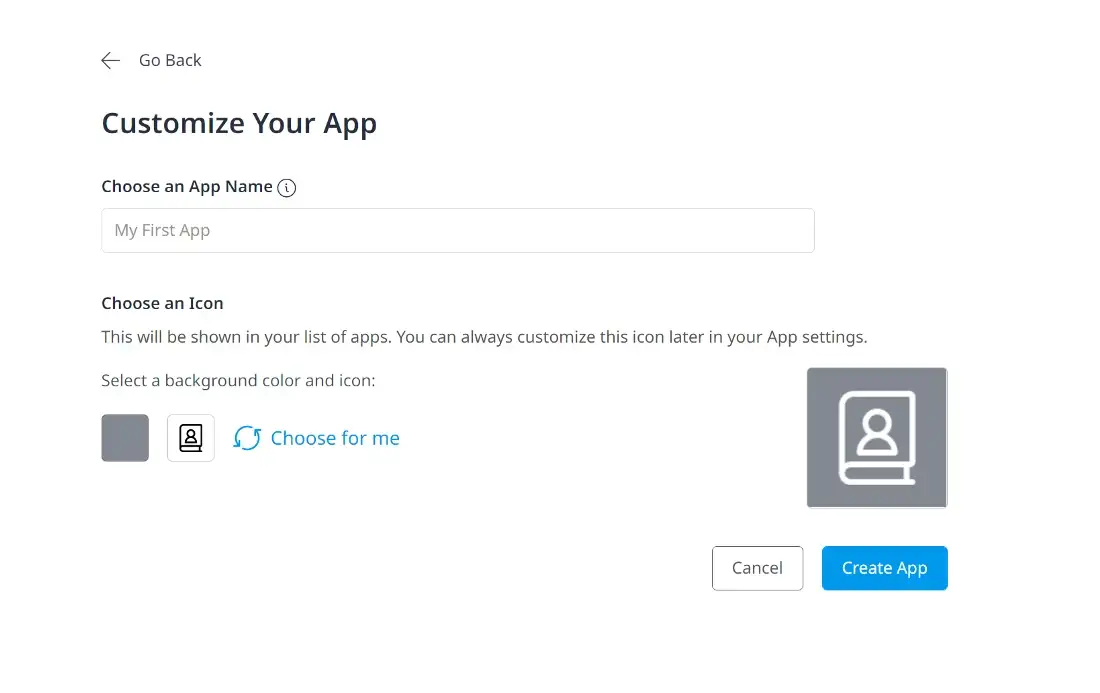
These are only visible on your developer portal and are not the icon and color for the actual app
What is Mendix Studio Pro: It’s the Mendix IDE for Pro Devs. For more info on installing, read the Doc page here.
When the project is downloaded and opened in Studio Pro, we can open up our default home page quickly, by pressing Ctrl + G and searching for “home_web”.
With the page open, click the auto-generated label which has the caption ”home page” and type “Hello Mendix!” to update the caption.
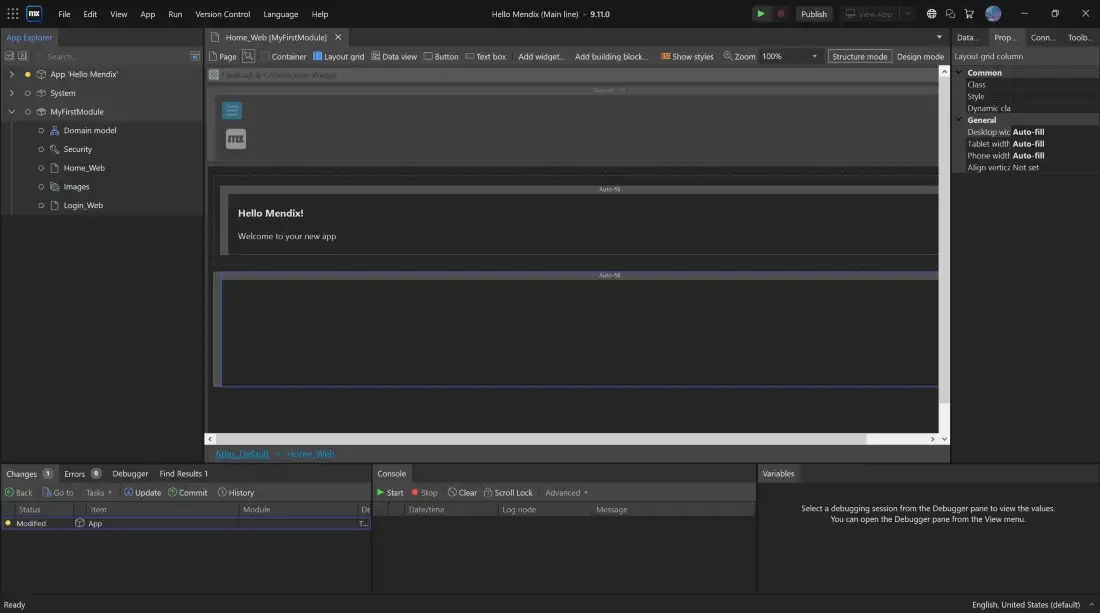
That’s it, you can hit F5 to run and test it locally, or you can click “Publish” in the top right-hand corner of Studio Pro, to deploy your app to the Mendix Cloud. Which is a free, live environment, which every Mendix app has access to use.
Once it’s running or published, just hit ‘view app’ to launch your deployed app for the first time.
For more information on what happens when you hit publish check out the Under the Hood series, and for more information on our platform, you can go to https://docs.mendix.com/ to start learning.