Hello Mendix: Get Good at Git With Mendix

It’s been a while since I produced something in the “Hello Mendix” series, so I decided to kick it off again. Today I’m talking about how to work with Git and Mendix together and how to use third-party tools like Github to manage your Mendix App repository in a private Git repo.

If you didn’t already know, Mendix has been using Git instead of SVN since version 9.21, and it will be the standard for Mendix going forward. This is because Git offers several advantages over SVN, such as:
- Git is the standard for software version control for companies like Github, Azure, and AWS.
- Git stores a local version of the repository, which means developers are less dependent on a high-speed internet connection because they don’t need to synchronize their work as often.
- With Git, synchronizing changes to and from the central repository is faster and more reliable.
- With Git, you can commit your changes without immediately pushing those changes to the central repository. This allows you more control over what is being committed and when.
- With Git, you have to commit locally before retrieving any updates, which means if you made a mistake when resolving conflicts, you can still view the changes you and your colleagues made and resolve them, without having to fully merge your code with the server in order to see conflicts.
- And finally, you can use third-party Git tooling such as Github Desktop if you have the need to manage things more closely.
If your app is not yet migrated to Git, simply search “Migrate to Git” on the Mendix Doc Pages for more information on making the change.
I’m not going to do a migration guide in this blog. Instead, I will be talking about how to actively use Git in your Mendix Development. I’ll cover some differences between SVN and Git when working with changes to your project and finally, I’m going to take a look at how to use GitHub as your Mendix apps private git repo.
Local commits and push to server
As I mentioned before, the biggest difference between SVN and Git is in how changes are pushed to the server. With SVN, everything used to be synced every time you made an update or commit. With Git, you have to commit your changes locally before you can push them to the server.
So what does this look like? Well let’s have a look in Studio Pro.
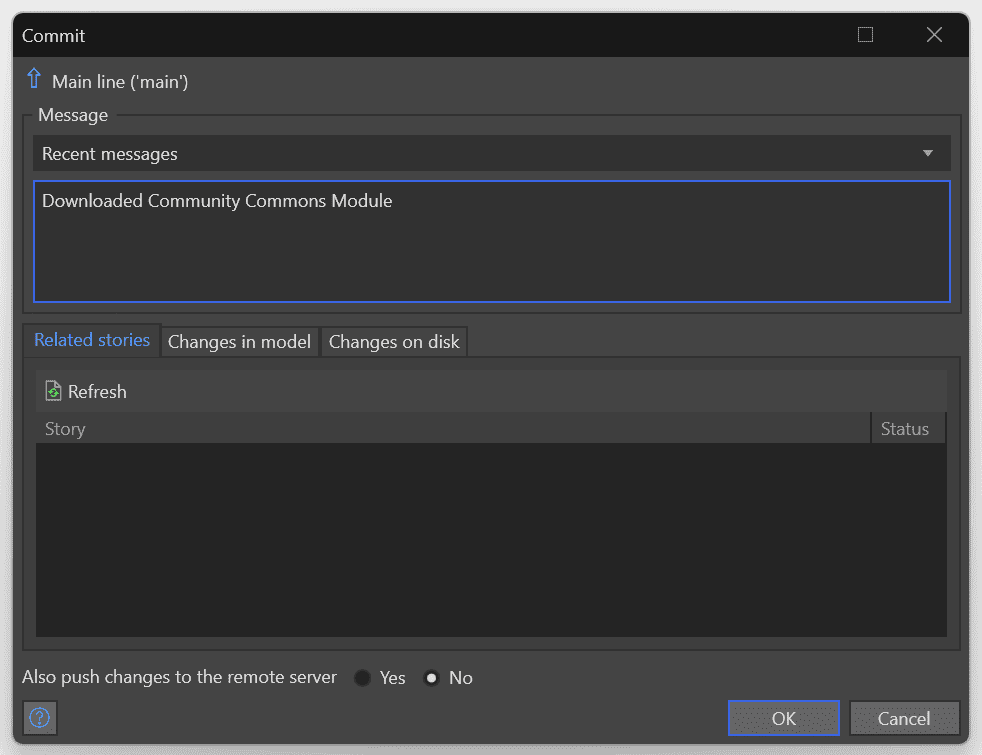
In Studio Pro, we still default commits to automatically be pushed to the repository, but you can unselect this checkbox before making your commit if you would like to create a local save point when making many changes. These local commits work like regular commits, meaning you are still able to rollback to them if something goes wrong or use them as a starting point for a branch line
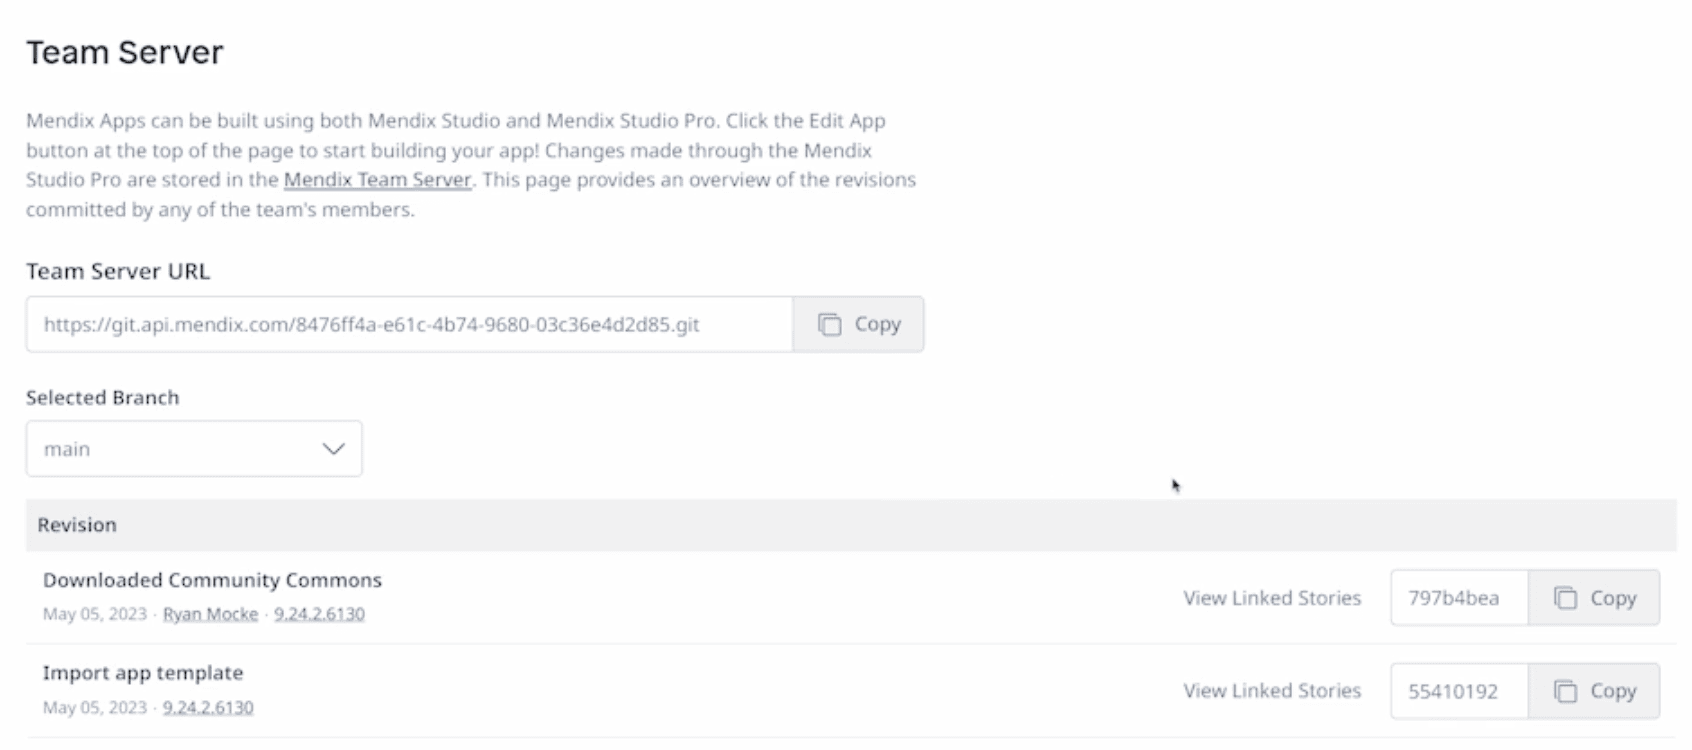
You’re actually able to see this if you go to team server in the developer portal for your app, after doing a local commit, you won’t see it appear on here with all the commits which have been pushed.
Revision numbers
Another thing you may notice is that version numbers are different when comparing SVN and Git. SVN uses a sequential number system for its revisions, like “1.0” or “2.0.1”. But Git uses SHA hash strings. While this may seem like a minor difference, it means they can be generated in a distributed setting and still be the same on different clients with identical changes.
Using Github as a third-party Git
Now that we’ve covered some of the basic differences between SVN and Git, I’m going to show you how you can use Github as a third-party Git or private Git repository.
To do this, you’ll need a PAT or Personal Access Token from Github which we will use to authorize Studio Pro so that it can connect to the repo. To find out more on how to do this, just search “Create PAT for Github.” The Github Docs give a great walkthrough on how to do this and it only takes a few minutes to fill out the wizard.
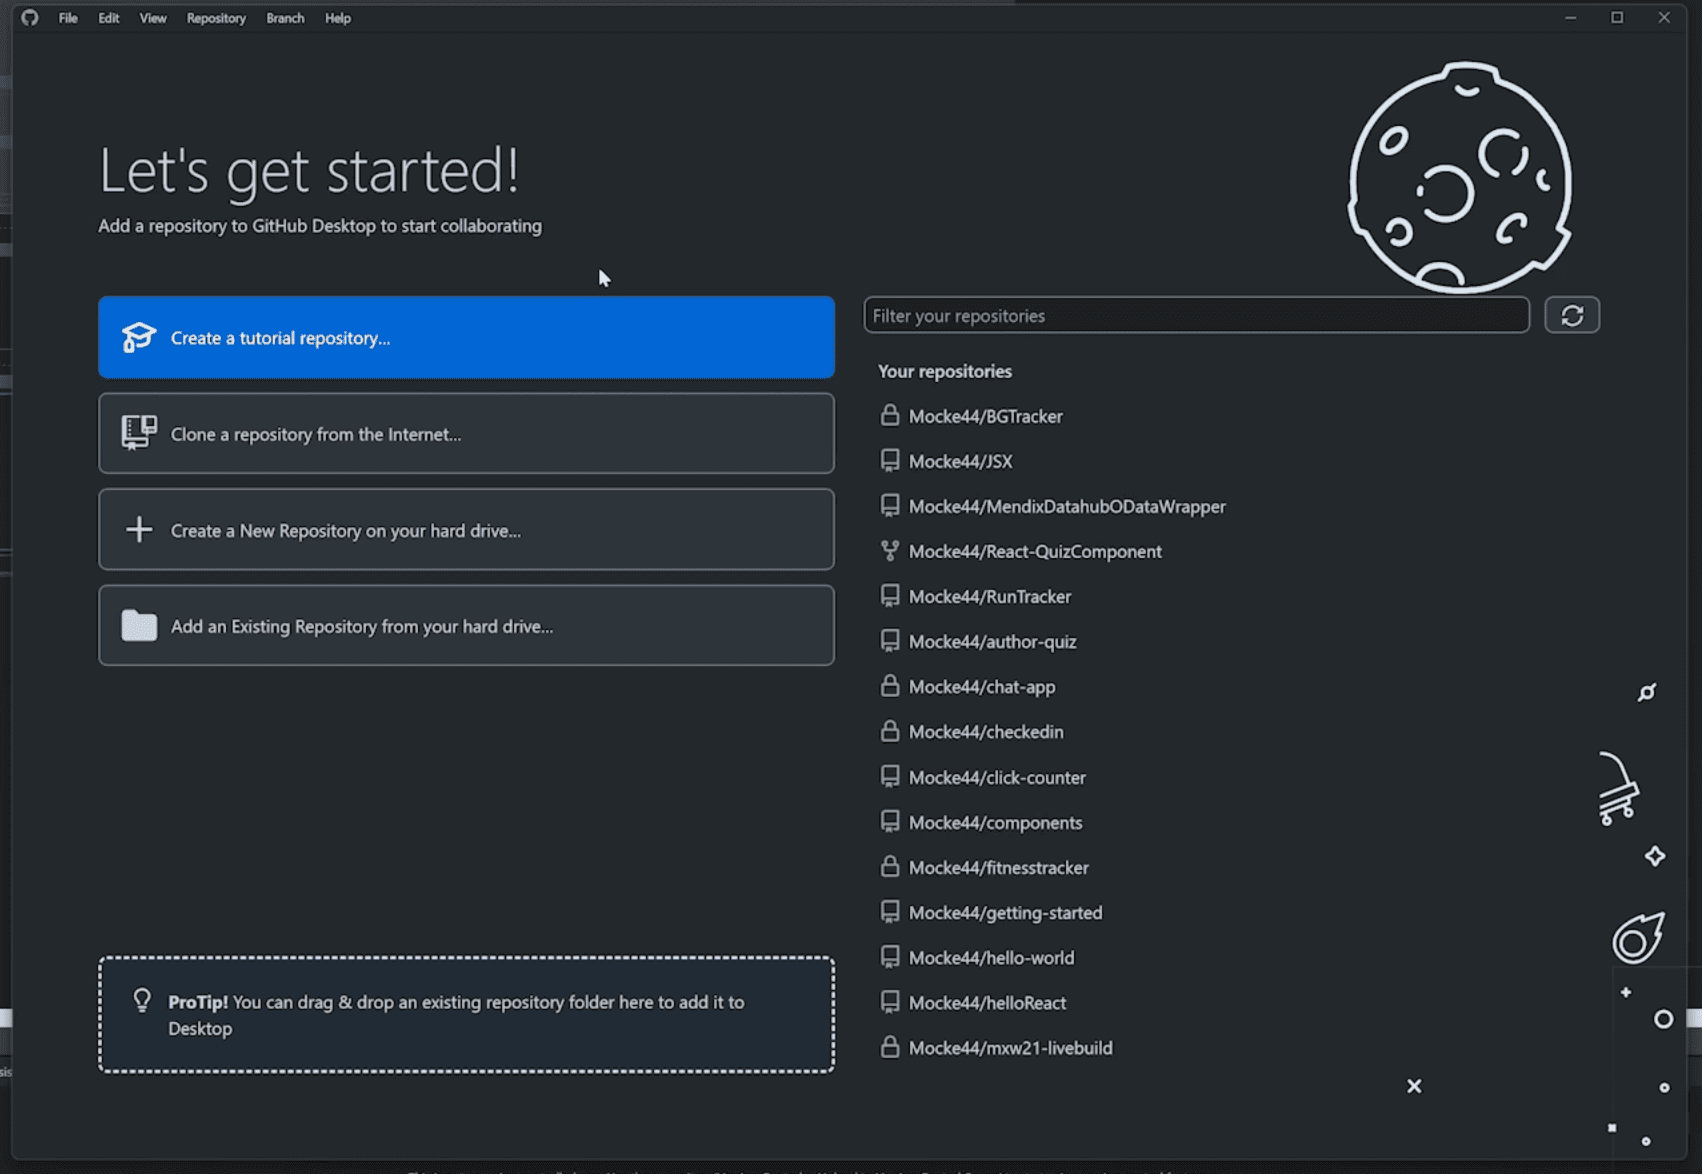
Once you have a PAT, you will need to make sure you have Github’s Desktop Client installed. It is also possible to use their command line, but using their desktop client makes it a lot easier.
To start off this process, we have to create an app inside Studio Pro. For this, I’m using version 9.24.2, and I will just be creating a simple blank web app. Now when you create the app, it’s important to not enable online services. For now, we only want the app to exist locally on the development machine. Something else that is important here is to always create the Mendix project first, because Mendix requires an empty directory or file in order to create a project.

Once your app is created you will have to create the Github repository using the desktop client. Make sure to select the “From Hard” drive option here.
Now, before we can connect Studio Pro to this repo correctly, the repo needs to have at least one manual commit in it. So, we need to introduce some changes here. In my example, I will just change some copy on a label on the users home page, making sure to save changes in the project. Now I can go back to the Github Desktop client and commit that change.
Everything is now ready to connect Studio Pro to Github. Inside Studio Pro, we can select “download from version control server”. From there, select “private server” and enter your app repository address. If you have never entered your Github credentials before, you will be asked to authenticate with the repo by entering a username and password for the repository.
The username is the email address for the Github account which owns the repo, and your password is the PAT token which you need to get from Github previously explained. When entering your credentials, make sure to select “keep me logged in” so that you don’t have to enter details every time you want to commit.
Now we can download the project to wherever you normally keep your Mendix apps, and at this point, Mendix is downloading the project from your Github repo. Once the project is opened you will have full access to the options under version control and you can continue to develop and push your changes as you would with any other app.
Read more about Mendix & Git:
- https://docs.github.com/en/get-started/quickstart/create-a-repo
- https://docs.mendix.com/refguide/version-control/
- https://docs.mendix.com/refguide/svn-git-differences/