Implementing a Dark Mode for Native Mobile Apps
Nowadays, most mobile phones have a built-in function for the user to toggle between light mode and dark mode. If the user’s phone is already in a dark mode but there is an app which cannot be adjusted and is shining brightly in a light mode, it will disrupt the user’s overall experience of using the app. For this reason, it is important to know how to implement a dark mode for native mobile apps.
Fortunately with Mendix, the process is straight-forward as a lot of the code has been pre-built in the background.
Please note that this tutorial is based on a native app created in Mendix modeller version 9.20. Things may differ in other versions.
What this post is about
In this post, we will cover how to create a dark mode for Mendix native mobile apps. The end result is to make the app automatically switch to a dark mode (or a light mode) depending on the user’s mobile setting. If their phone is already in a dark mode, the app will be shown in a dark mode, and vice versa.
What this post is NOT about
Please note that this post is NOT a tutorial on how to create a toggle switch between a light mode and a dark mode. (You can read more about that in: How to Implement Dark Mode in Your Apps) What we’re after today is how to make your app automatically switch to its dark mode version when the user’s phone is in a dark mode.
Tutorial
Step1: Create a custom theme module
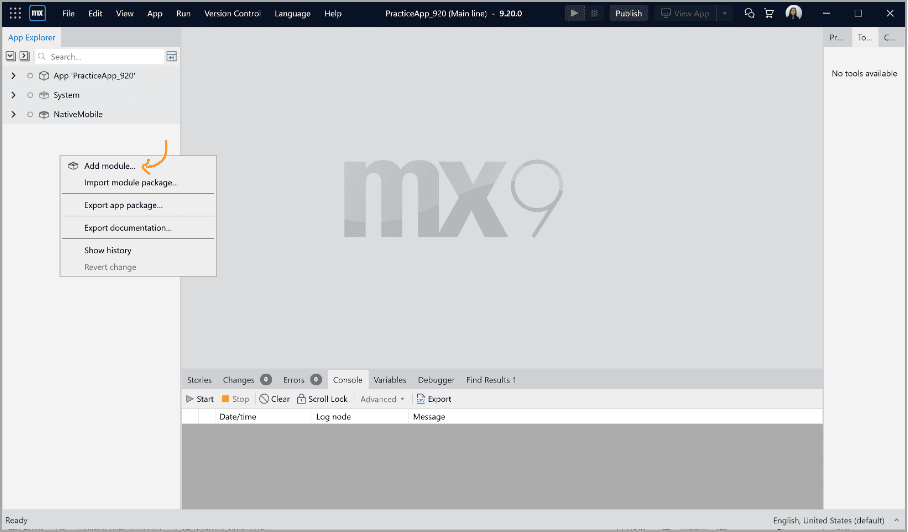
When creating a custom theme module, the method used is similar to how we create a custom theme module for web apps. Right-click in the app explorer and select “Add module”.
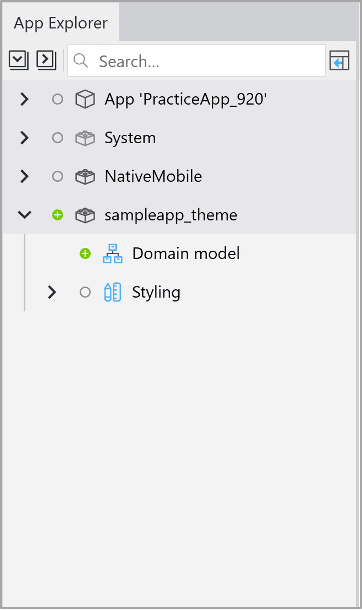
Make sure you rename it in a recognizable manner. For example, if your brand is called “Smith Company”, the theme module can be something like “smith_theme”. In the example, I renamed my module as “sampleapp_theme”.
We should also mark this module as a UI resource module. Right-click on the module and choose “Mark this as a UI resource module”. This should turn the module to green.
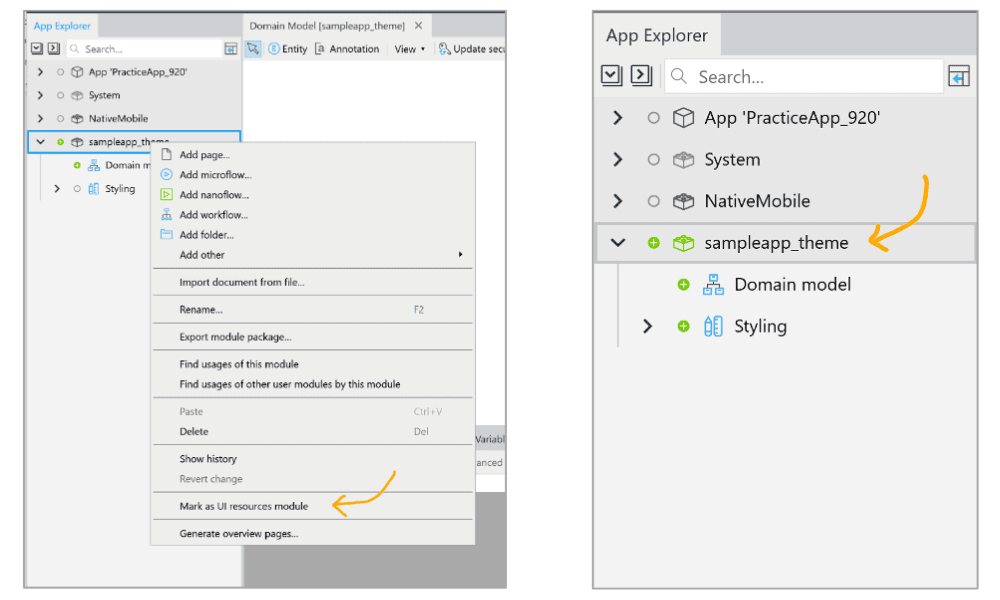
Marking it as a UI resource module can help the team locate where the custom styling is quickly.
Creating a custom theme module is an effective method for grouping all the styling related to a specific brand in one place. If you need to reuse the same styling in another app that belongs to this brand, you can simply export the custom theme module and import it in your new app.
In native mobile apps, custom classes are added to the “main.js” within your custom theme module. This is located in: themesource > [your custom theme module] > main.js
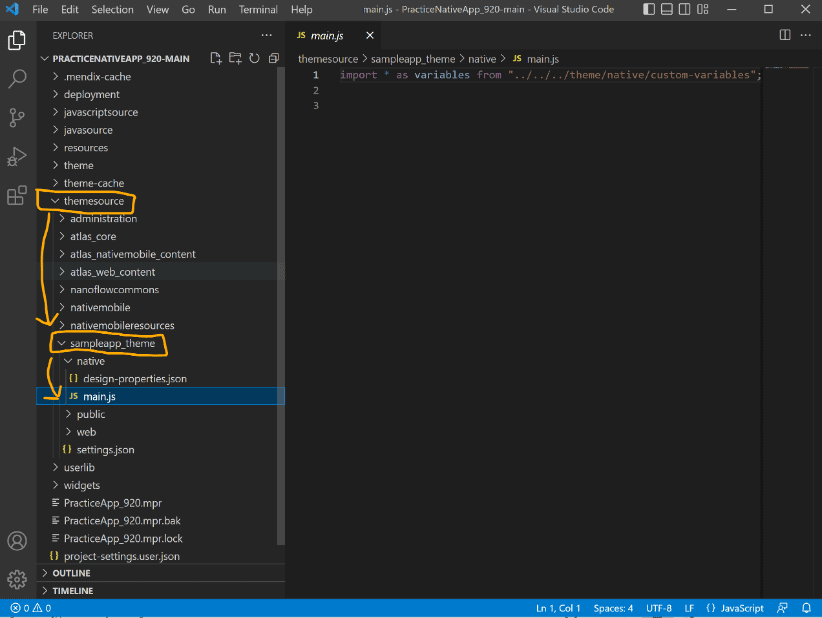
This is also where we will add the dark mode functionality.
Step 2: Add the module required to create a dark mode
In order to create a dark mode for the app, we need to add two things to the “main.js” file.
Firstly, we need to add the “Appearance” module at the top of the file. Adding this module allows us to determine the preferred color scheme of the app. (To learn more about “Appearance”, please refer to this link: https://reactnative.dev/docs/appearance).
Secondly, we need to add a “darkMode” variable. This is required before we can implement a dark mode version for specific components in the app. The code looks like this:

Step 3: Test it out
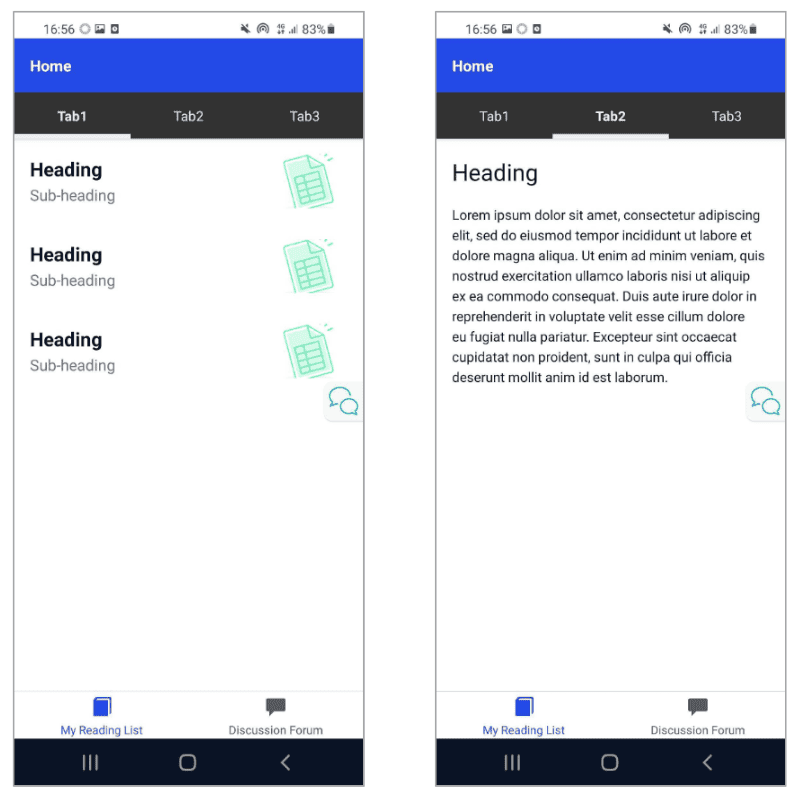
In this example, I created a tab container with some text and images:
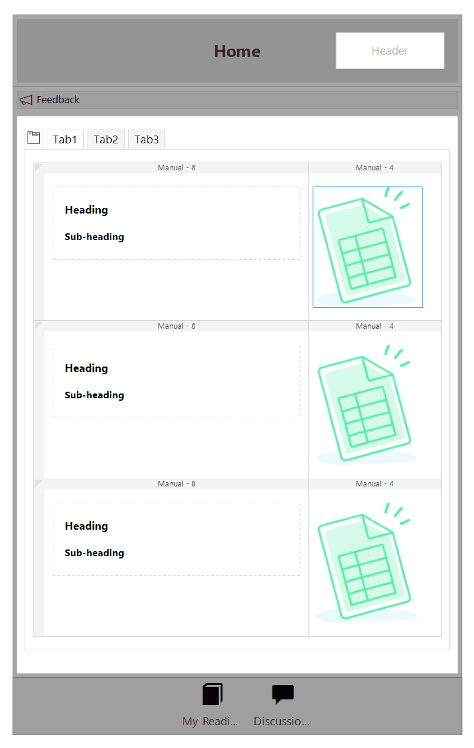
When we run the app now, it looks like this:
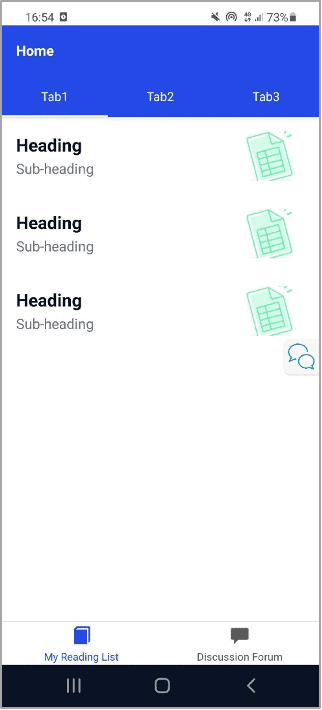
Note: This is currently how the app looks in both the light mode and the dark mode.
Let’s give the tab container a class. Double click on the tab container and go to “Appearance” and give it a class. In this example, my class is “sampleTab”:
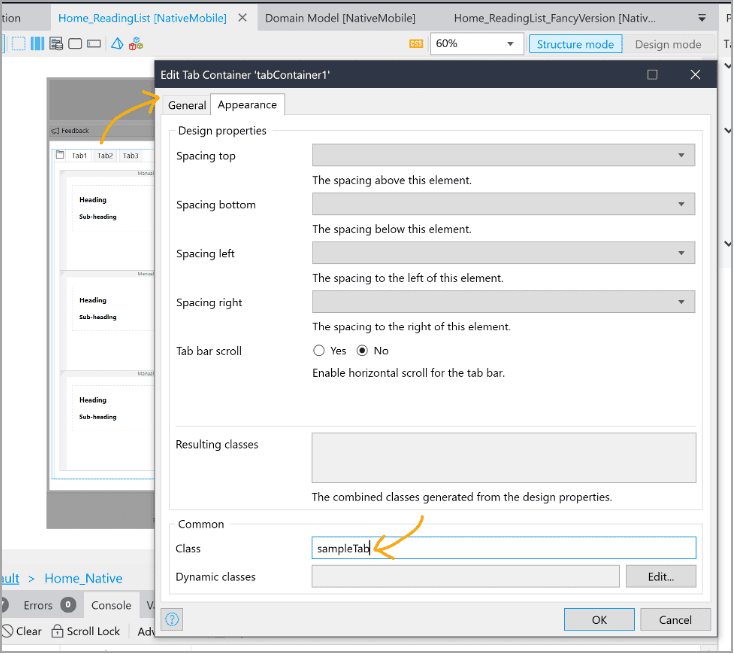
Note: The class has to be in camel case (the first letter of the first word is in lowercase and the first letter of the words thereafter will be in uppercase).
In the “main.js” file, let us change the background color of the tab, the indicator (i.e. the underline of the selected tab), the label, and the active label:
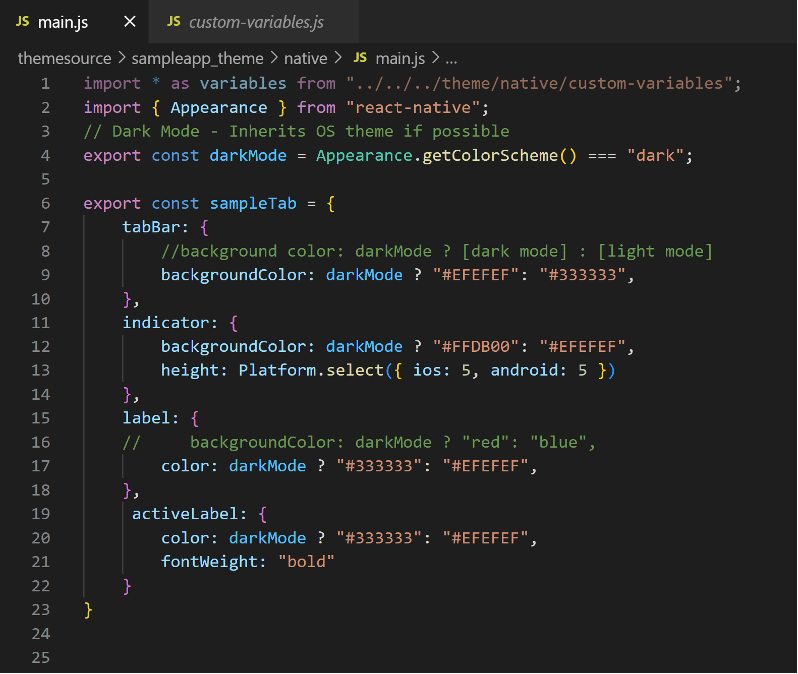
As shown in the comment on line 8, the format of adding an alternative style for dark mode is to add darkmode ? [dark mode] : [light mode] to the property of the variable.
Save everything and run the project.
Results
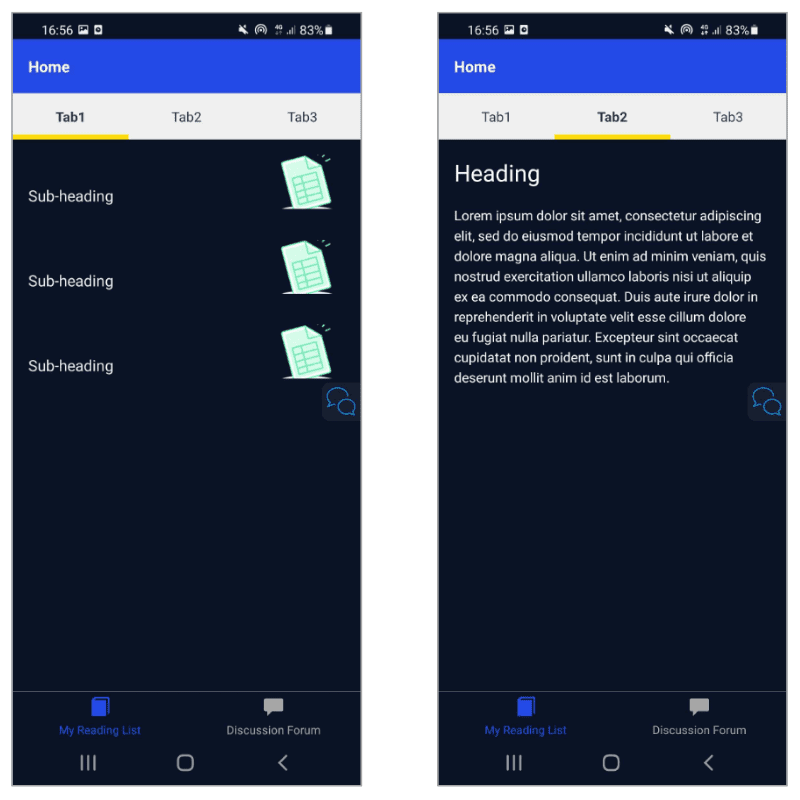
This is the result in light mode:
This is the result in dark mode:
Feel free to play around with the color and the contrast for both the light mode and the dark mode. Here is a fancier version of the app for your reference.
Light mode:
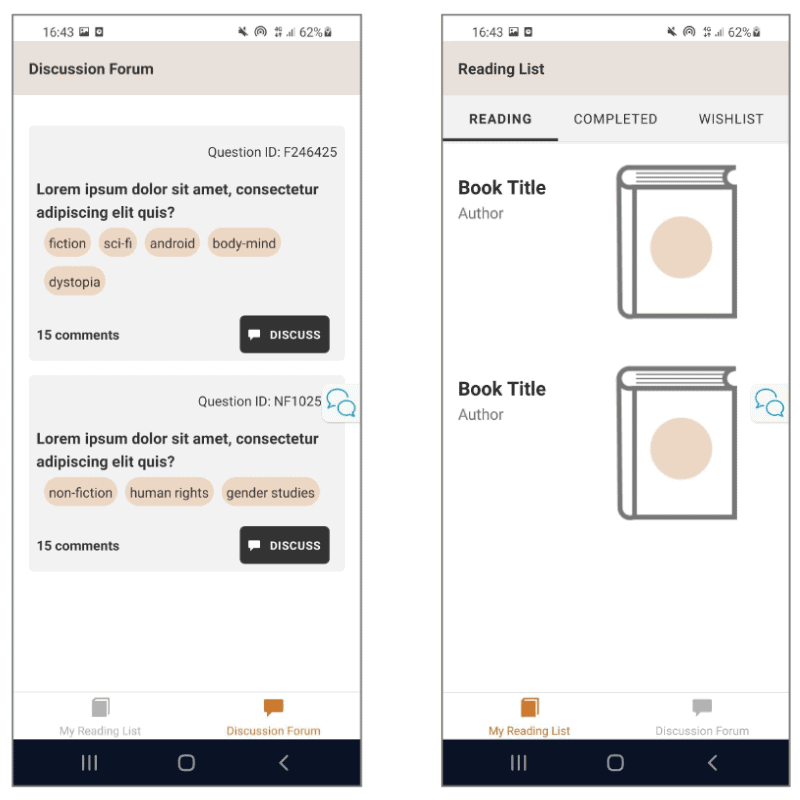
Note: The book image is my own creation.
Dark Mode:
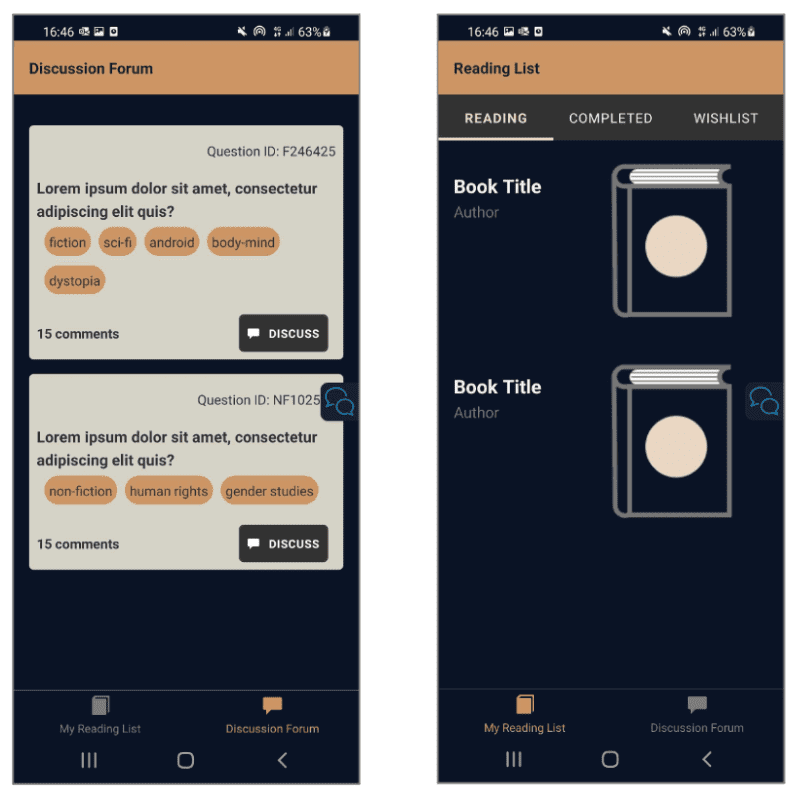
Note: The book image is my own creation.
The project file for the fancier version, including the app layout on the Studio Pro modeller and the code, can be downloaded here: https://www.mendix.com/wp-content/uploads/DarkModeSampleApp-2.mpk_.zip
Thank you for learning and I hope you have enjoyed this tutorial!