How to Integrate Spotify in Mendix: Part 1

We talk a lot about all of the impactful ways you can build apps that bring tangible business value to your organization. But even the most super professional, business-changing app can use a little fun. So today, we’re going to focus on adding a little bit of music to your everyday apps.
I am constantly listening to music. I will have music playing while I’m working, playing games, doing chores, or pretty much anything else.
Spotify is a great fit for this. It’s easy to use and seamlessly transfers music from device to device as I move around my home. However, sometimes I get frustrated that I constantly have to switch out of the application I’m using in order to change songs or playback devices.
I realized I’m probably not unique, and other people also probably get annoyed by this. So, I decided to make a re-usable Spotify Module in Mendix, and now I can include basic controls for Spotify in any app I make.
Bring beats to your Mendix apps with Spotify
As I did some research, I realized there were a few basic steps to get this to work:
- Register the app with Spotify
- Authenticate with Spotify
- Client-based credential
- Authorization code
- Searching for artists’ tracks and albums
- Start playback
- Get available devices
- Transfer playback between devices
In part one of this series, I will be covering how to register your app with Spotify, authenticate with client credentials, and use the token obtained to search for tracks, artists, and albums on Spotify.
Registering the app
Go to the Spotify developer dashboard and login with your Spotify account.
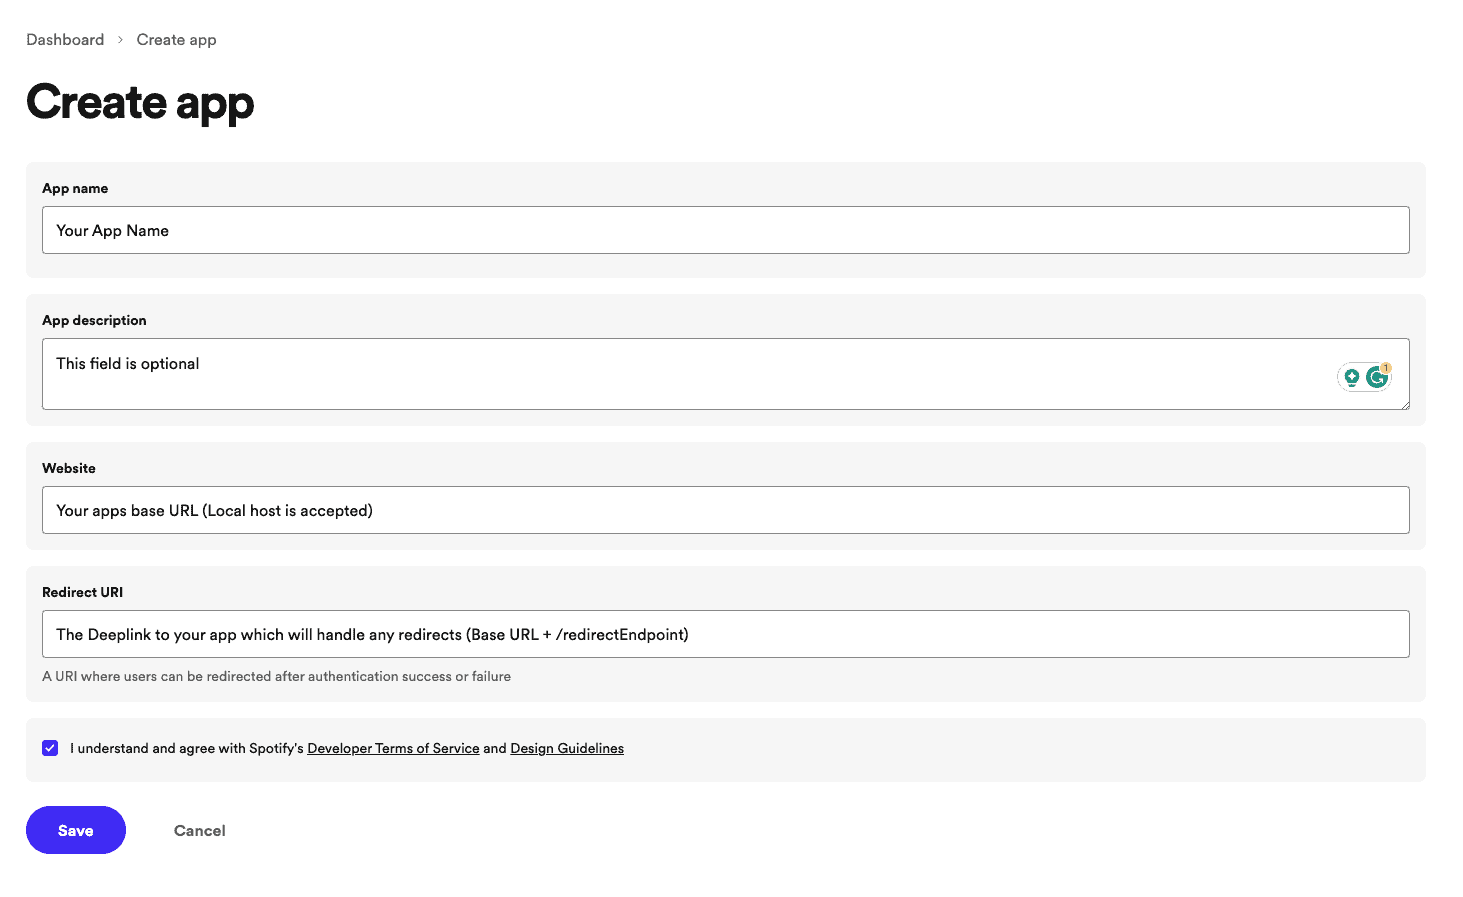
Click Create App and fill in all details as required. Most importantly, set your redirect URL to your Mendix app (multiple URLs are supported, and localhost works fine). You can edit, add, and remove redirect URLs later on whenever you want.
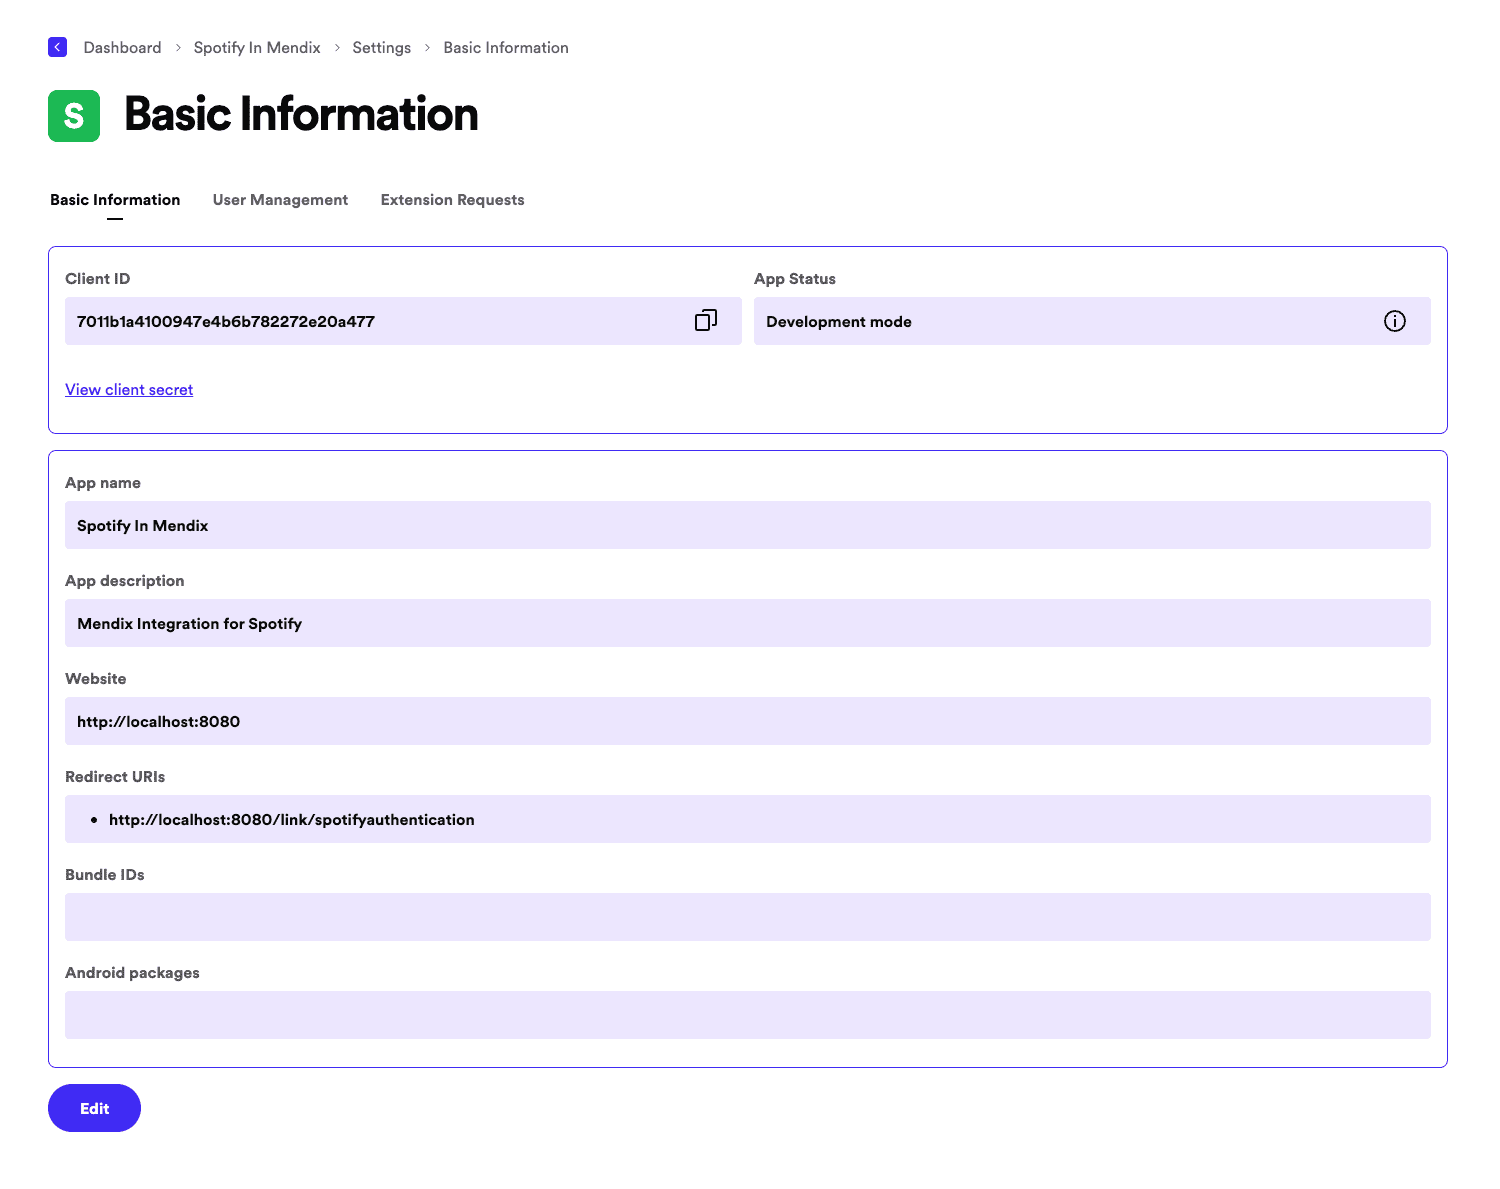
While viewing your app in Spotify, click on settings in the top right corner to view your app’s Client ID and Secret. Remember to keep these secure and to refresh your Client Secret if you believe your credentials are compromised.
Authentication
Spotify uses OAuth 2.0 for their WebAPI, which means there are four grant types to choose from.
Here is their full guide to authorization to read.
In my integration, I used both Client Credentials and the Authorization Code flow. Client Credentials can be used to interact with many of Spotify’s endpoints, such as searching for artists and tracks, but they cannot be used to interact with user data. For that, only the user can grant access to their account, and for that, I used the Authorization Code flow.
Client Credentials
To use Client Credentials to authenticate your requests to the Spotify Web API, simply obtain your Client ID and Client Secret from the App Settings Page in Spotify’s portal, as shown above. You need to click Show Client Secret to view the secret.
Store these somewhere safe and secure, I stored mine as Constants in my Mendix App.
Next we need to make a POST REST call as below:
Location :https://accounts.spotify.com/api/token
HTTP Method :POST
HTTP Header : Content-Type 'application/x-www-form-urlencoded'

Body :
grant_type=client_credentials&client_id=XXX_Your_Client)ID_XXX&client_secret=XXX_Your_Client_Secret_XXX
I applied Import Mapping, which uses the following JSON Structure to map the token to an entity in my Mendix App:
{
"access_token": "XXX_Your_Valid_Token_Response_XXX",
"token_type": "Bearer",
"expires_in": 3600
}
The tokens are valid for 3600 seconds (one hour) and will need to be refreshed after their time is up.
Searching Spotify
Once you have obtained a token, it is very simple to use. To execute a search, we will need to make a request to Spotify’s Search API. Check out the full doc page for it if you want to read more.
We will be using the endpoint as described in the docs with an additional Query String to pass in our parameters:
The final request looks like this:
Location :https://api.spotify.com/v1/search?q=URL_Encoded_Query_String&type=album,artist,track
HTTP Method :GET
HTTP Header : Authorization 'Bearer '+$SpotifyToken/Access_token
Take note of the query string indicated by the ‘?’ in the URL. This can be any string variable so long as it is URL-encoded. And ‘type’ is the type of search to execute, in this case for Albums, Artists, and Tracks.
The full JSON Response is quite long, so I will not include it here, but you can read the documentation for it for more information.
Finally, I mapped this response with its own Import Mapping and JSON Structure (choosing to ‘Map Automatically’) and I built a simple UI to display the data:
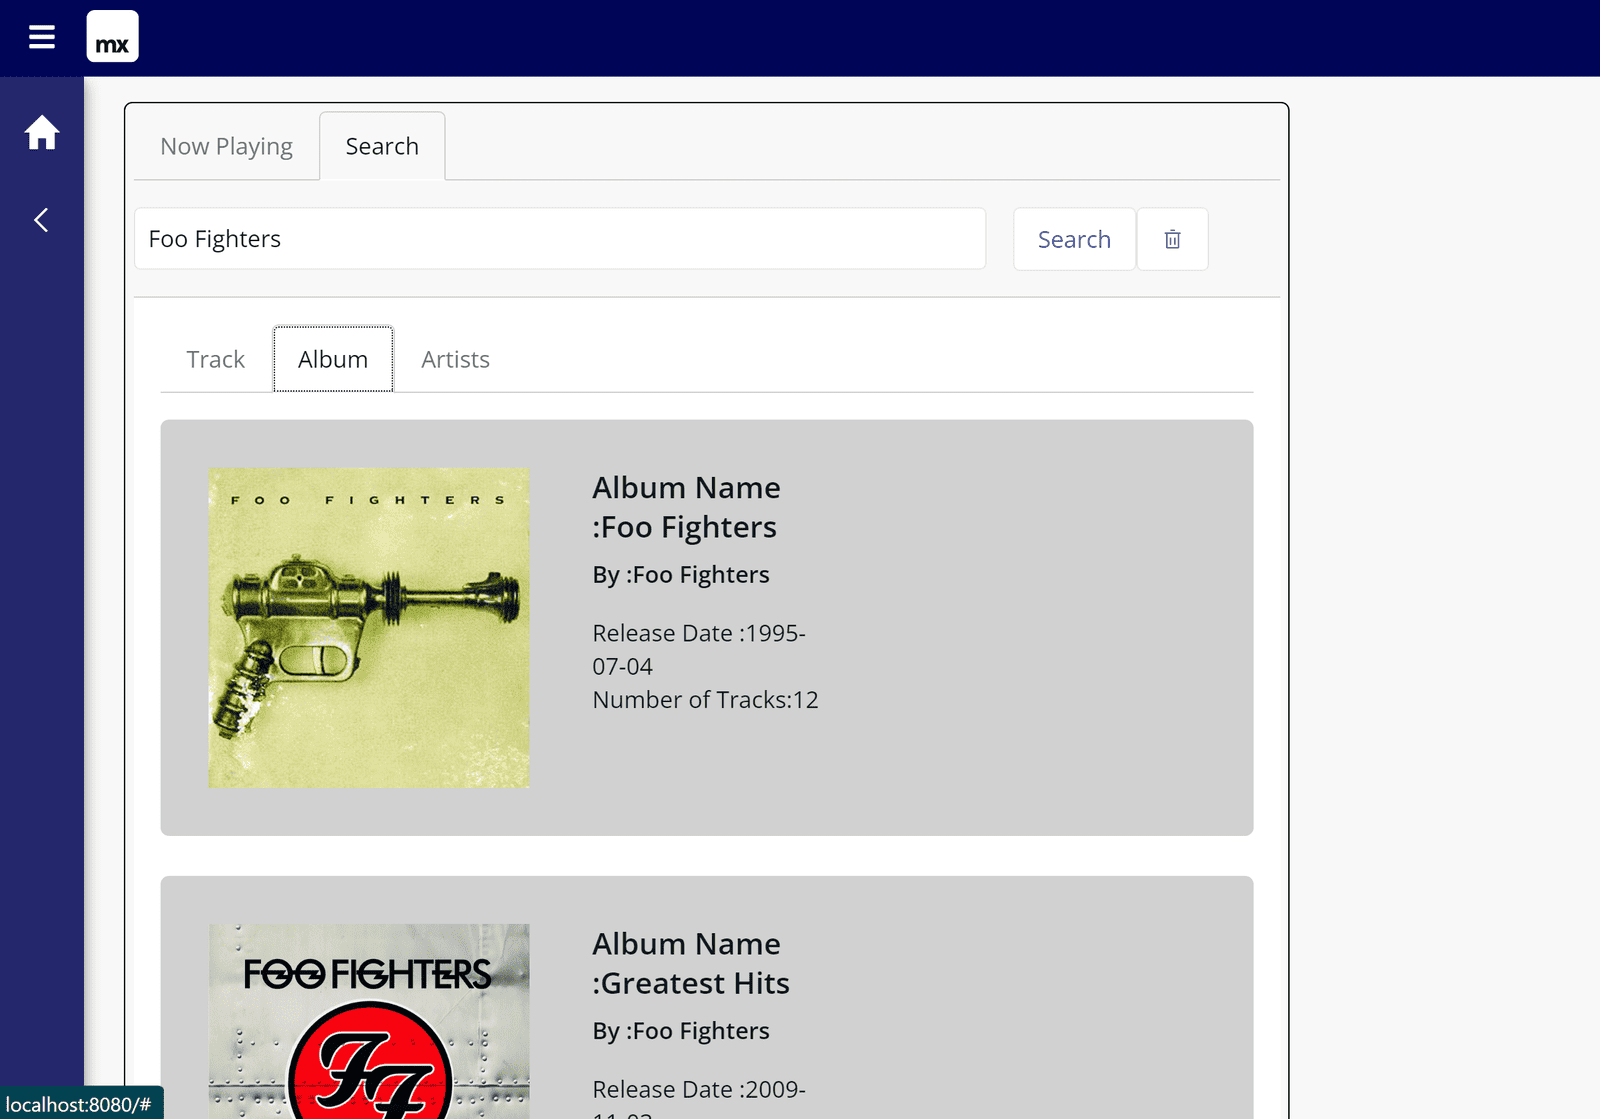
Protip – You can use the Image Widget to display an image from a URL. The search response contains images hosted on URLs for the Track, Artist, and Album.
Next up in this series…
That’s it for now. In part two, I cover how to authenticate using the Authorization Code flow and using the personal access token received to start and stop the playback of songs on any device connected to Spotify.