How to work with JavaScript and Mendix
During the middle of lockdown I had a lot of time on my hands, and like many people I spent most of that time binge watching series and having movie marathons. It was during an almost month long movie marathon that I became curious to see if I could build a voice app in Mendix using JavaScript.
Those familiar with superhero movies and other sci-fi genres, will be familiar with digital sidekicks hacking into security systems and more for the main protagonist of the story. But for my build, I would be focusing on the speech-to-text and text-to-speech aspects of my digital assistant voice app. I mean, how hard could that be after all? With little regard for my own sanity or stress levels, I dove head first into the abyss of speech synthesis technologies, and how to implement them in Javascript and Mendix.
“JavaScript is the only language that I’m aware of that people feel they don’t need to learn before they start using it.”
— Douglas Crockford
The Idea
The design is simple — well as simple as I could make it. The idea is to create a Mendix app which can hear and understand a user’s spoken words and then respond through its own “voice”. Sounds easy right? Once I decided on a design, it was time to look for any existing technologies out there that I could use — not much point in redeveloping this from scratch when there are many voice platforms already out there, such IBM’s Watson and Google’s Cloud AI Platform.
However I’ve built chat bots before- at last year’s Mendix World, I hosted a Low Code live build with Jan de Vries. In the session I built out an Alexa skill which allowed a user to interact with a Mendix app, by speaking to Alexa. This time around I decided to focus less on the actual conversation and dialog, and more on the actual spoken word aspect of this build. If you would like to learn more about building conversation trees, I recommend you watch the recording from Mendix World 2020.
The Design
So what am I actually going to build? After some research I settled on a design, my app would focus on 2 core aspects:
- A Speech-to-Text pluggable widget which will be able to hear and understand the user’s voice.
- A Text-to-Speech JavaScript Action which will allow the app to respond out loud to the user.
For the widget I would be using a library I found on Github, which makes use of Mozilla’s speech synthesis libraries.
Conveniently for the JavaScript action I came across a JavaScript tutorial created by Mendix which does exactly this inside our own documentation.
Finally, in the Movies, the hero always has a cool name for their robotic side kick. In honour of this I decided to name my app MAEVIS which stands for “Mendix’s Awesome Excellent Very Intelligent System”
Building MAEVIS
Generally when building an app, I try to focus on the most challenging or complex processes first. As I already had a rough idea on how to get the app to speak, I decided to focus on building the widget which would allow MAEVIS to hear me. As I mentioned above I decided on using this Library by NikValdez on Github.
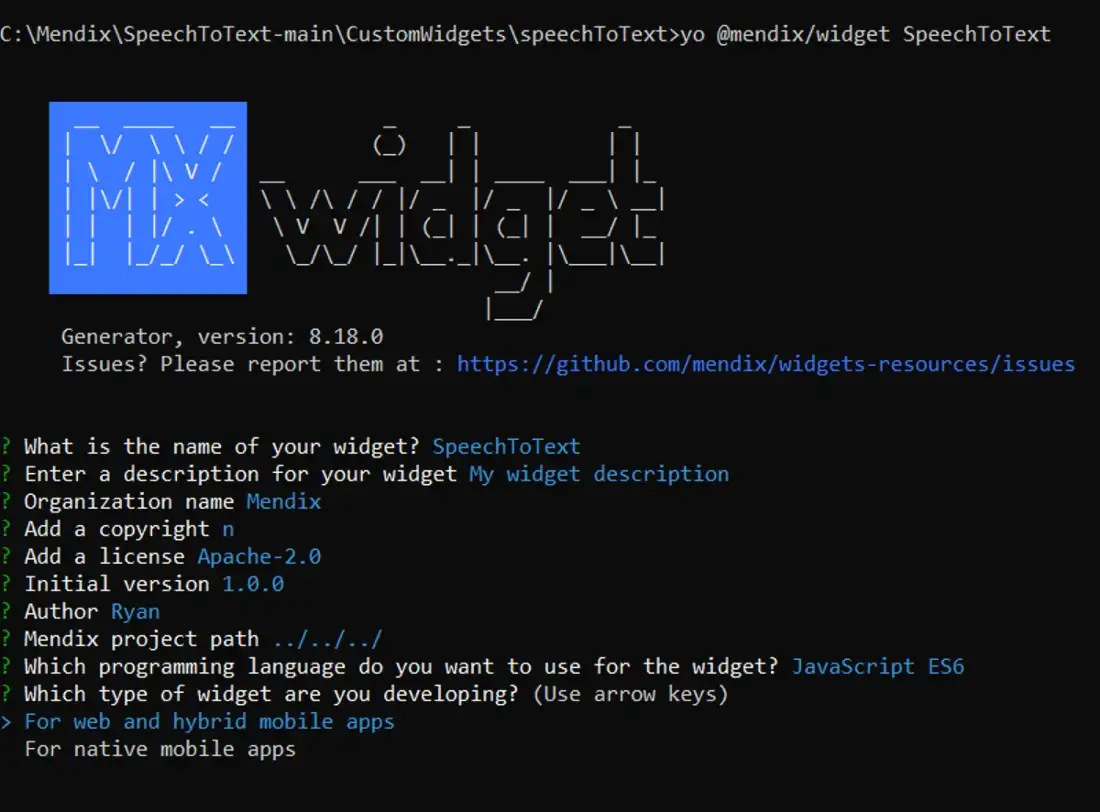
I used the Mendix Widget generator to create my widget scaffold. I chose to build this using JavaScript ES6 and its built for web and hybrid mobile apps.
The main issue I ran into adapting this code to work in MAEVIS, was that the example uses a Functional component, and the widget scaffold generates the code as a Class component. Once I understood the issue it was simple to resolve it.
I ended up with this as the final widget code :
import React,{ Component, createElement, useState, useEffect } from "react";
import "./ui/SpeechToText.css";
const SpeechRecognition = window.SpeechRecognition || window.webkitSpeechRecognition;
const mic = new SpeechRecognition();
mic.continuous = true;
mic.interimResults = true;
mic.lang = 'en-US';
export default function SpeechToText(){
const [isListening, setIsListening] = useState(false);
const [note, setNote] = useState('');
const [savedNotes, setSavedNotes] = useState([]);
useEffect(() => {
handleListen()
}, [isListening]);
const handleListen = () => {
if (isListening) {
mic.start()
mic.onend = () => {
console.log('continue..')
mic.start()
}
} else {<mic.stop()
mic.onend = () => {
console.log('Stopped Mic on Click')
handleSaveNote()
}
}
mic.onstart = () => {
console.log('Mics on')
}
mic.onresult = event => {
const transcript = Array.from(event.results)
.map(result => result[0])
.map(result => result.transcript)
.join('')
console.log(transcript)
//textAttribute(transcript)
setNote(transcript)
mic.onerror = event => {
console.log(event.error)
}
}
}
const handleSaveNote = () => {
setSavedNotes([...savedNotes, note])
setNote('')
}
return <span className="flexColumn">
<>
<p>{note}</p>
<button
className={isListening ? 'pulse-button btn-danger' : 'pulse-button'}
onClick={() => setIsListening(prevState => !prevState)}>
{isListening ? <span>🎙️Stop</span> : <span>🛑Start</span>}
</button>
</>
<>
<h2>Notes</h2>
{savedNotes.map(n => (
<p key={n}>{n}</p>
))}
</>
</span>
}I also added some styles to change to widgets front end, so it looks better than regular buttons on a screen :
.flexColumn{
display: inline-flex;
flex-direction: column;
}
.container {
width: 200px;
height: 100%;
margin: 0 auto 0;
perspective: 1000;
-webkit-perspective: 1000;
-webkit-backface-visibility: hidden;
backface-visibility: hidden;
background: #fff;
}
.pulse-button {
position: relative;
margin: auto;
display: block;
width: 10em;
height: 10em;
font-size: 1.3em;
font-weight: light;
font-family: 'Trebuchet MS', sans-serif;
text-transform: uppercase;
text-align: center;
line-height: 100px;
letter-spacing: -1px;
color: white;
border: none;
border-radius: 50%;
background: #5a99d4;
cursor: pointer;
box-shadow: 0 0 0 0 rgba(90, 153, 212, 0.5);
-webkit-animation: pulse 1.5s infinite;
animation: pulse 1.5s infinite;
}
.pulse-button:hover {
-webkit-animation: none;
animation: none;
}
@-webkit-keyframes pulse {
0% {
-moz-transform: scale(0.9);
-ms-transform: scale(0.9);
-webkit-transform: scale(0.9);
transform: scale(0.9);
}
70% {
-moz-transform: scale(1);
-ms-transform: scale(1);
-webkit-transform: scale(1);
transform: scale(1);
box-shadow: 0 0 0 50px rgba(90, 153, 212, 0);
}
100% {
-moz-transform: scale(0.9);
-ms-transform: scale(0.9);
-webkit-transform: scale(0.9);
transform: scale(0.9);
box-shadow: 0 0 0 0 rgba(90, 153, 212, 0);
}
}
@keyframes pulse {
0% {
-moz-transform: scale(0.9);
-ms-transform: scale(0.9);
-webkit-transform: scale(0.9);
transform: scale(0.9);
}
70% {
-moz-transform: scale(1);
-ms-transform: scale(1);
-webkit-transform: scale(1);
transform: scale(1);
box-shadow: 0 0 0 50px rgba(90, 153, 212, 0);
}
100% {
-moz-transform: scale(0.9);
-ms-transform: scale(0.9);
-webkit-transform: scale(0.9);
transform: scale(0.9);
box-shadow: 0 0 0 0 rgba(90, 153, 212, 0);
}
}
I must say, I consider getting this widget to render on screen one of my greatest development feats to date, and this is the first time in my life I truly felt that “AHA!” moment while coding in JavaScript. For those of wondering how long this took, it was about 3 days of pulling out my hair and yelling at my laptop, but in the end the pay-off for me was huge.
With the hard part done, it was an easy task to simply follow this tutorial on building JavaScript actions.
In just an hour or two I had an action which could read out loud any text I gave it as a parameter. For those just looking for the code here it is, but I do recommend following this tutorial if you are new to JavaScript actions in Mendix.
// This file was generated by Mendix Studio Pro.
//
// WARNING: Only the following code will be retained when actions are regenerated:
// - the import list
// - the code between BEGIN USER CODE and END USER CODE
// - the code between BEGIN EXTRA CODE and END EXTRA CODE
// Other code you write will be lost the next time you deploy the project.
import { Big } from "big.js";
// BEGIN EXTRA CODE
// END EXTRA CODE
/**
* @param {string} text
* @returns {Promise.<boolean>}
*/
export async function JS_TextToSpeech(text) {
// BEGIN USER CODE
if (!text) {
return false;
}
if ("speechSynthesis" in window === false) {
throw new Error("Browser does not support text to speech");
}
// const utterance = new SpeechSynthesisUtterance(text);
// window.speechSynthesis.speak(utterance);
// return true;
return new Promise(function(resolve, reject) {
const utterance = new SpeechSynthesisUtterance(text);
utterance.onend = function() {
resolve(true);
};
utterance.onerror = function(event) {
reject("An error occured during playback: " + event.error);
};
window.speechSynthesis.speak(utterance);
});
// END USER CODE
}
Time to test it out
So without further ado I would like to introduce you all to my creation MAEVIS.
Wrapping up
I want to emphasise just how much I learnt on this project, and although it was challenging I thoroughly recommend trying this out for yourself. I would’ve liked to add more to this build, but with some other really exciting projects in the works I have to leave it here.
Ideally I wanted the widget itself to trigger the Nanoflow which triggers the Text to Speech JavaScript action. And I think it would be great to utilise props to extract the dialogue from the widget back into Mendix, instead of simply storing it in the widget’s state. I will continue to work on these features and may post a follow up to this in the future, but until then I think its a great exercise for all of you to try do exactly this! Please reach out to me if you use this, I would love to see what crazy ideas this gives all of you. Until then, remember — Go Make it!