Putting the REST Connector to the Test

Mendix 10.6 offers a new way of consuming REST services. It provides implicit mapping and the ability to test your calls directly in Studio Pro and group REST calls together. I took the opportunity to play with the new REST Connector in beta. Here’s a quick rundown of what I found.
I thought a good test of the new connector would be to consume an API I’ve never worked with. After looking for potential API’s, I landed on Asana. I decided on Asana because my team uses it, meaning there would be plenty of data to pull from. Plus it would offer the potential to create something down the line which might offer insight into the way my team works and accomplishes our goals.
Before we actually get into integrating Asana’s API, there were some things that immediately jumped out at me. Let’s go over them first:
A simplified UI
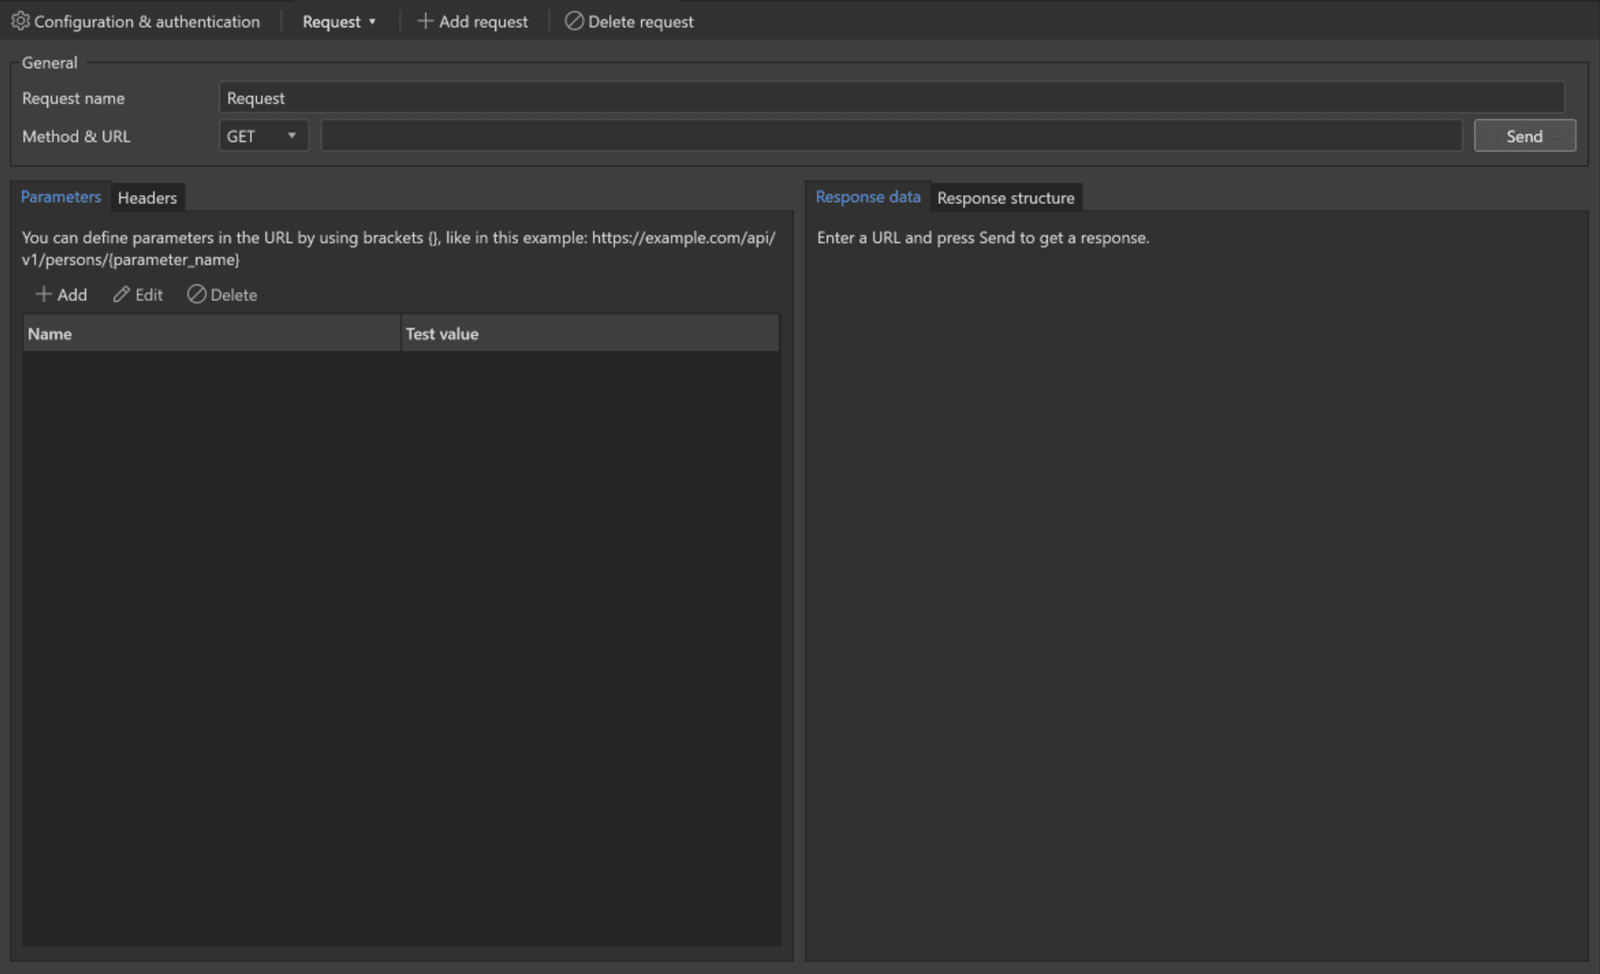
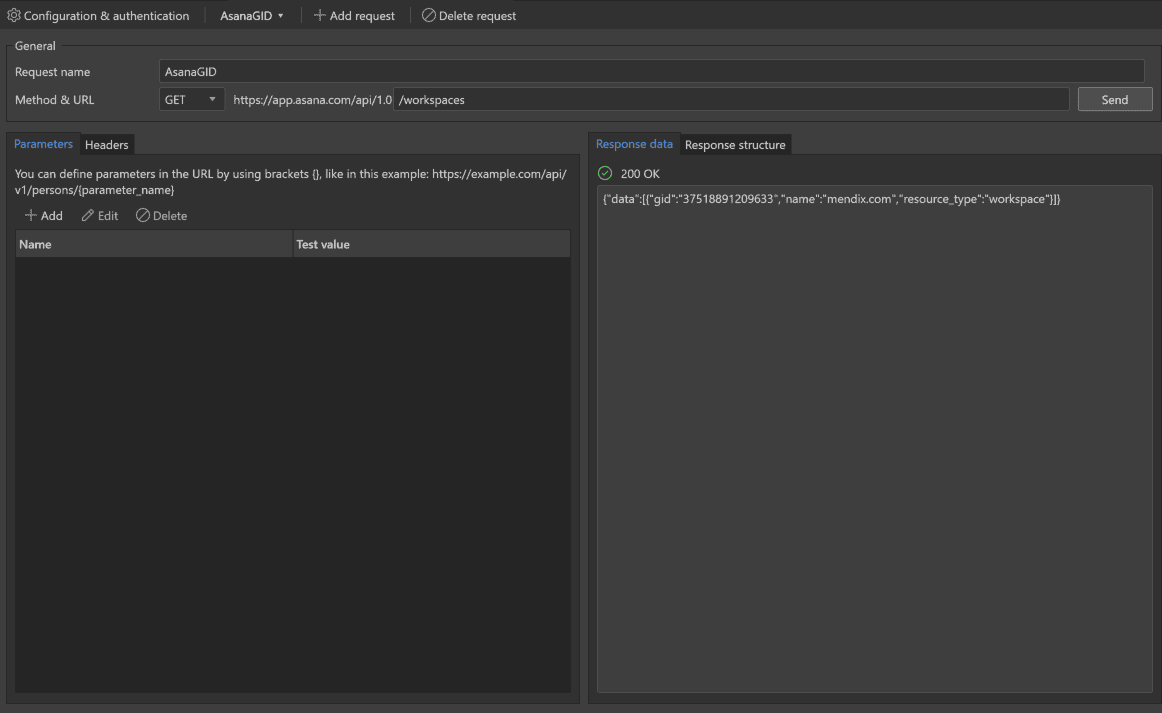
The first thing you will notice is the elegant design. At the top of the editor are your connection details, parameters and headers on the left and response data on the right. This organized view lets you see all the details about the API in a single place.
The second thing you will notice is the ability to send a test request to the API direct from Studio Pro.
Let’s go over some of these amazing features in detail:
When integrating an API, you are presented with several new features to make it easier to manage your integrations.
First off, you can set a base URL for the API collection you are integrating. By clicking “Configuration & Authentication,” you can define the root URL used for any requests, which in the case of Asana is https://app.asana.com/api/1.0.
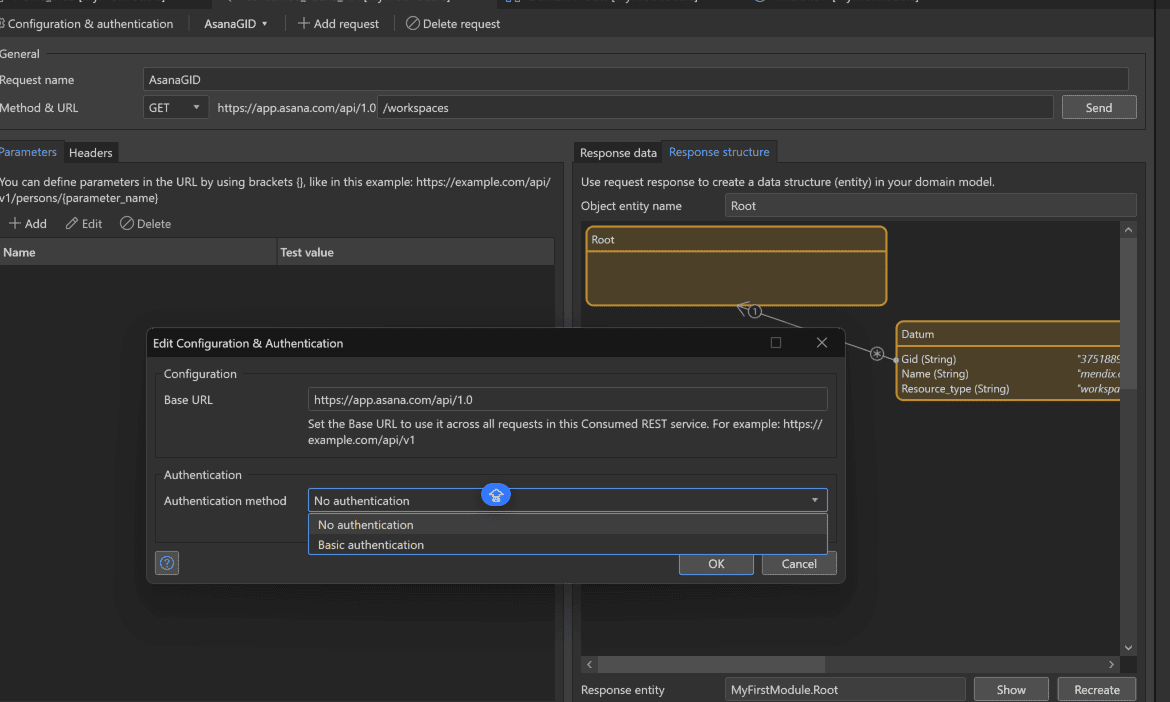
After you define the base URL, it will be prefixed for any requests you make from the collection, which you can see in action in the screen above.
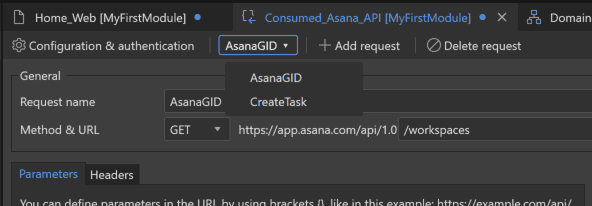
Creating new requests is simple. Click “Add Request” to open a new request in the screen. To navigate between requests, click the tab between “Configuration & Authentication” and “Add Request.” You’ll see a drop-down menu for the requests you have created.
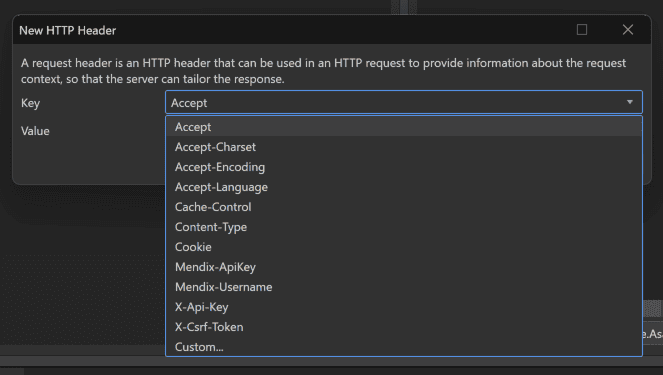
Adding headers and parameters is easier now too. When adding headers you are presented with a list of commonly used options. (There is always the “Custom” option for anything out of the ordinary.)
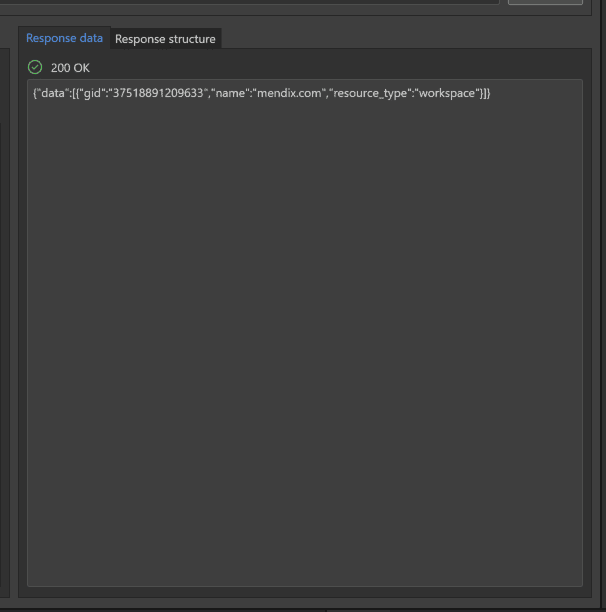
The new UI also allows you to send a test request to the endpoint directly in Studio Pro without running the app. If your request is integrated correctly, the response will be shown on the right-hand side under Response Data.
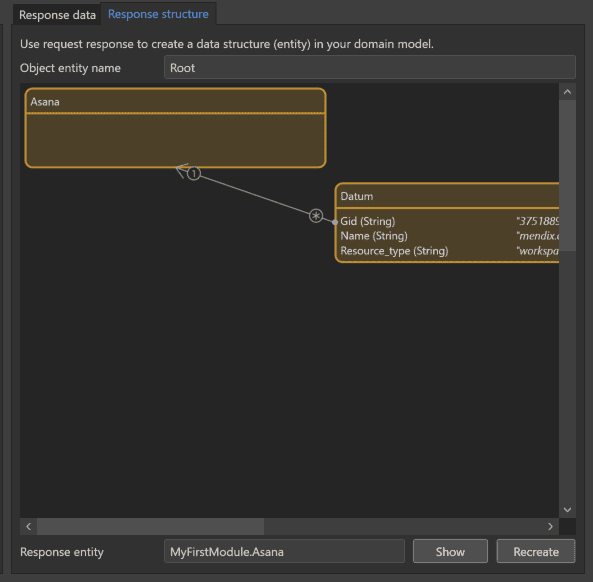
After a successful request, Studio Pro uses the response data to generate a suitable domain model if none currently exists. You can also recreate this data mapping for the response at any time by clicking “Recreate.”
Integrating Asana using the new connector
GET/Workspaces
As part of my experiment, I made a GET Request to Asana’s Workspaces Endpoint. This endpoint returns the user’s Organization–the root of Asana’s data structure. All teams, tasks, and feedback items are contained within the Organization Structure. We can’t continue without the GID, a global identifier for the Workspace or Org.
This request does require a PAT from Asana, as I opted not to implement OAuth for this simple experiment. You can read more about how to obtain a PAT here.
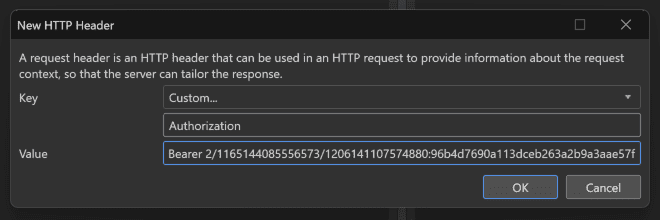
As this is a GET request, in order to send the PAT as part of our request we need to define a Authorization header. Then we need to send the token along with the keyword “bearer” to authenticate our user.
Under “Headers” I clicked on “New,” chose the “Custom” header option, and defined the Key “Authorization” with value “Bearer XXX_MyPAT_XXX”.
After just a few actions I was ready to test my work by hitting send. It returned with a “200 OK” response and instantly generated a possible domain model, which I opted to generate then.
Using this GID along with my PAT, I should now have the ability to integrate the Create Task endpoint.
POST/Task
Asana has a very flexible API and does not require any additional information to create a task beyond an authorized PAT and the workspace GID. Any other fields can be left blank. The task will use default values for these when it’s created.
However, I will still be setting the “name” string, along with the “completed” boolean and the “notes” string.
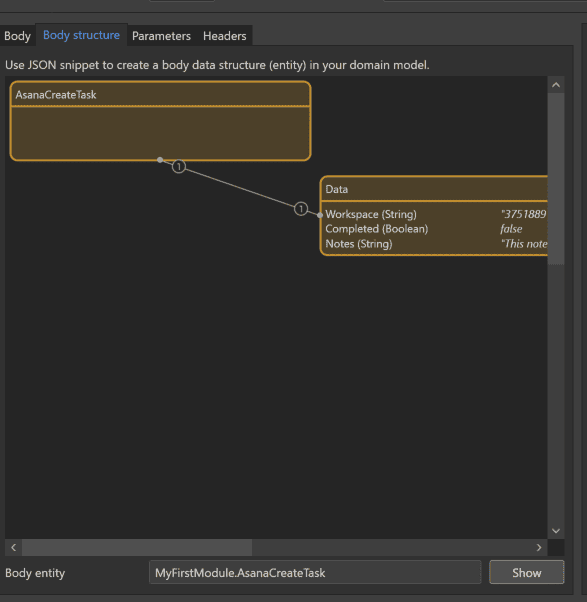
Asana has a cool playground to help build your request on the right hand side when viewing in their API Docs. I just used that to build the JSON body for the request. I pasted it into the “Body” field in Studio Pro and clicked “Use JSON Snippet.” Asana interpreted the data and created a possible model under Body Structure, which I opted to apply.
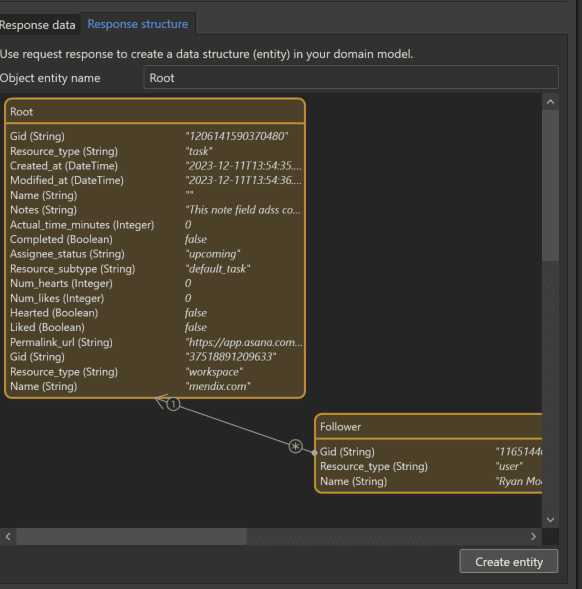
After that I was curious and hit send. Studio Pro instantly brought back a “201 Created” response. I then used this data to generate the domain model for the response, which will hold the data for real once its implemented.
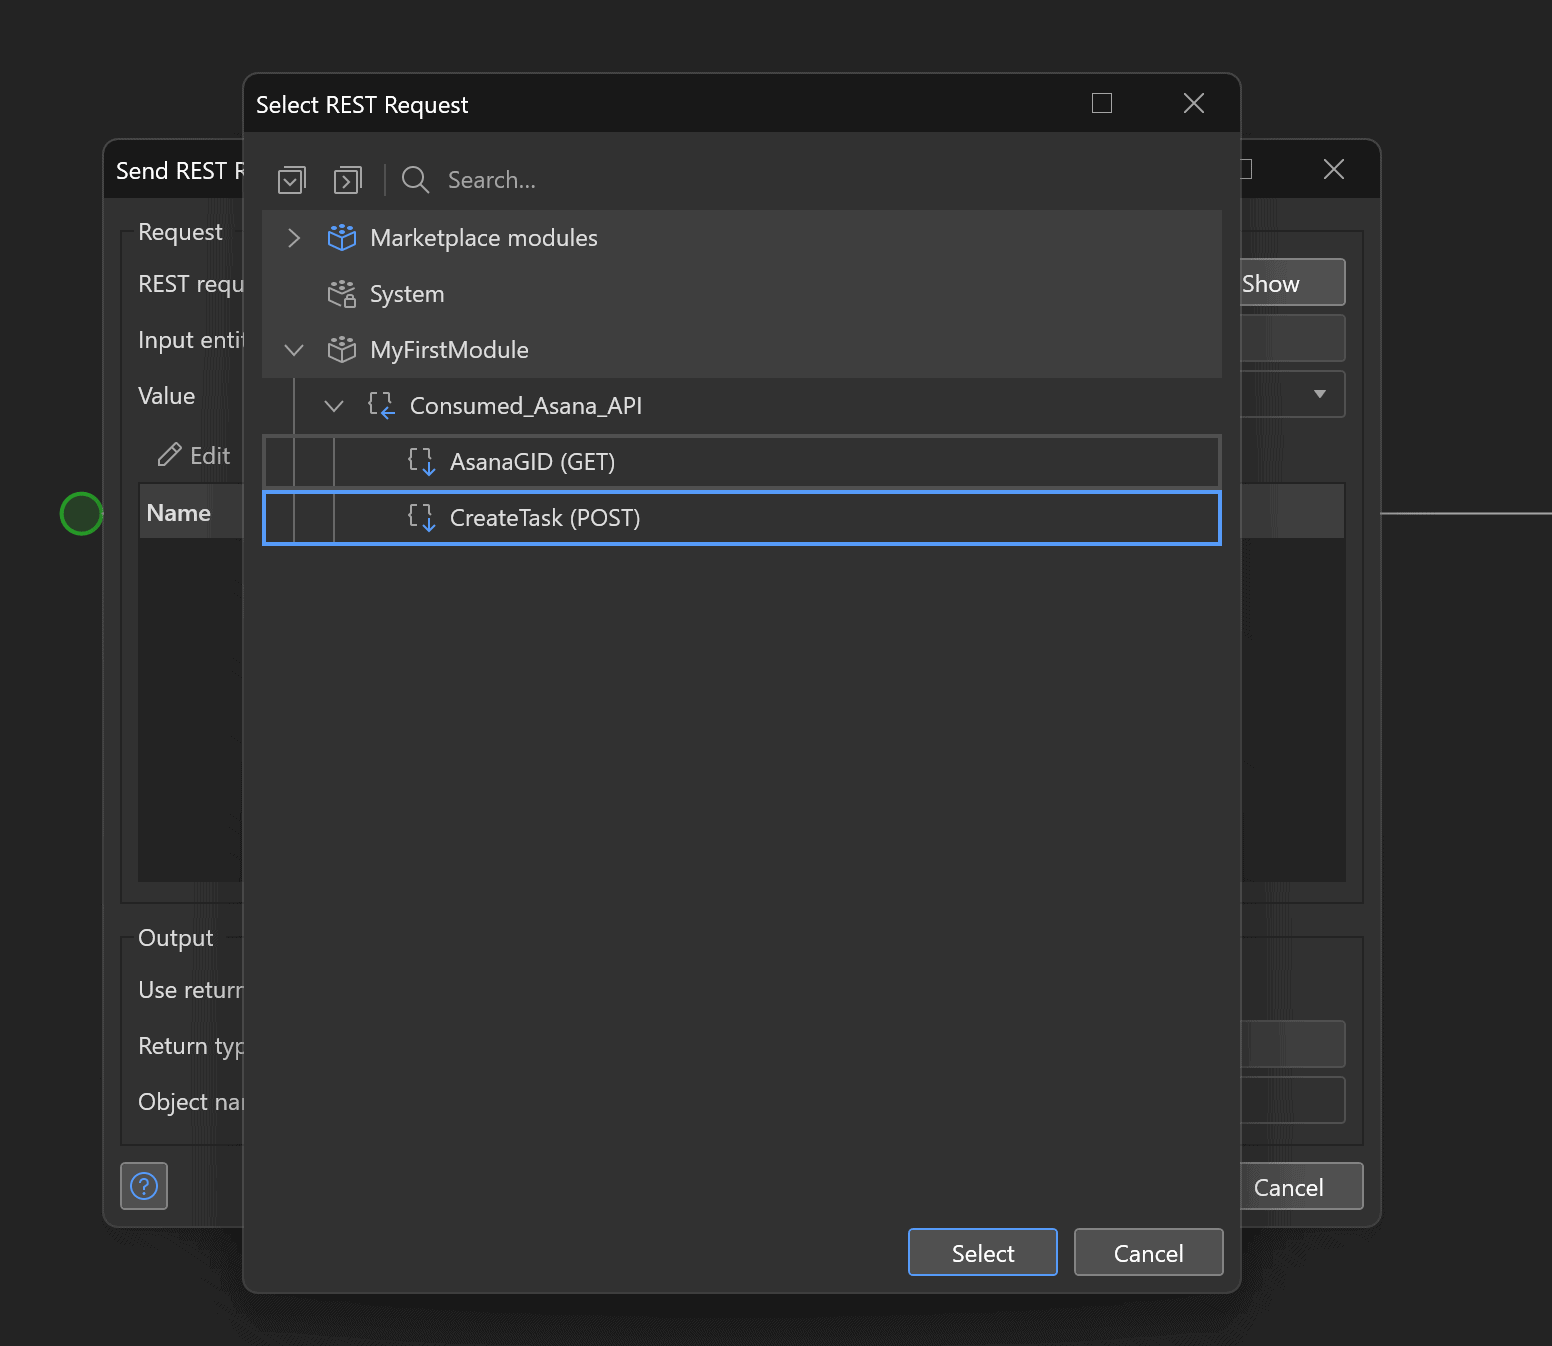
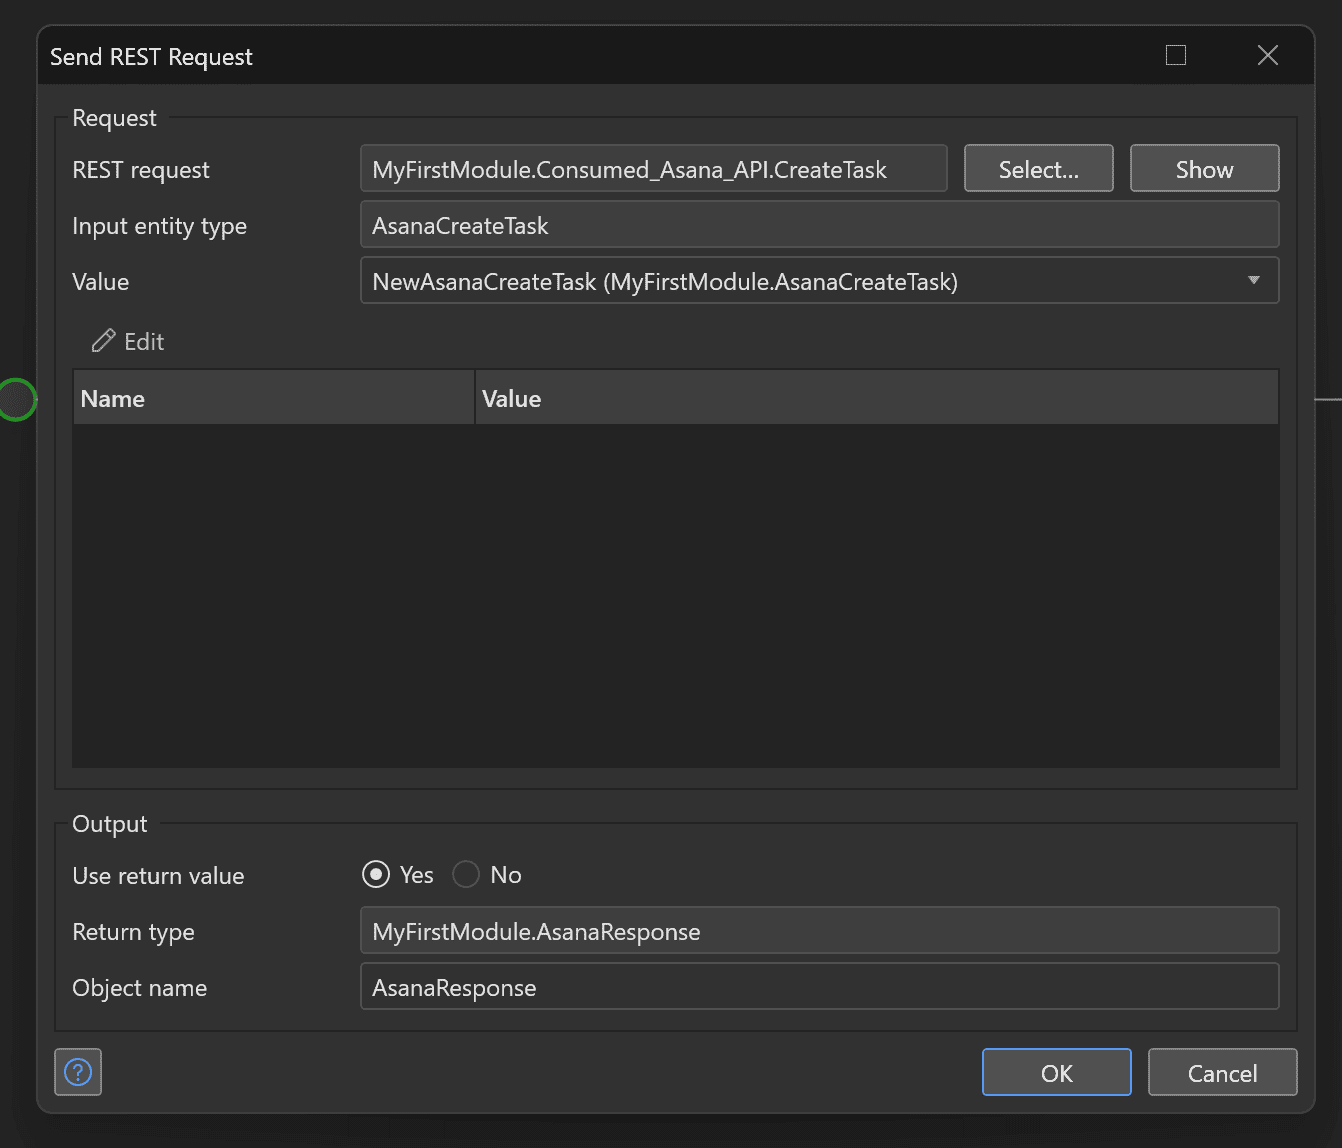
The only thing left to do now is to call this service in a Microflow. You can find the “Send REST Request” action in your toolbox under “Integration Activities.” After dragging it into your flow, the only thing you need to do is select the REST service, in our case the “CreateTask” request.
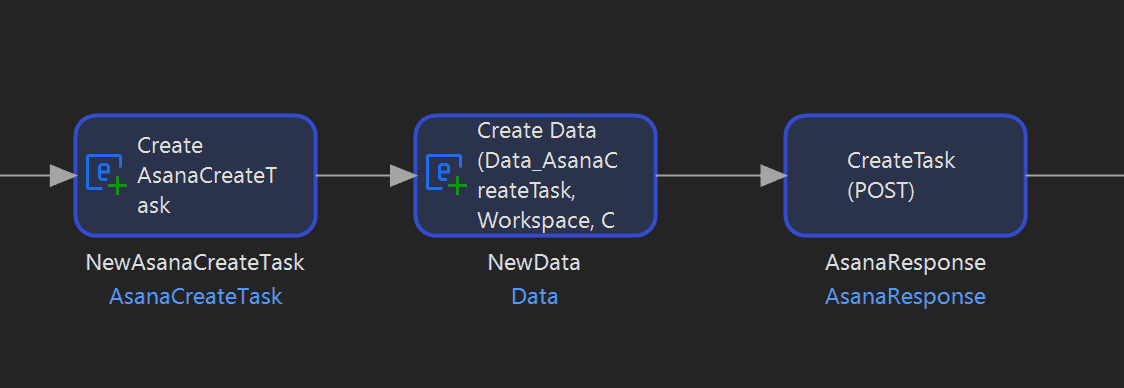
After that the only thing it requires is to create the data using the entities we defined for the API.
We can create the entities as normal, remembering to set any associations to each other. Then we simply provide the data to the “Send REST Request” action.
Conclusion
Overall I found using the new connector really intuitive. While integrations are something I consider my speciality, even a newcomer to the field will have no problem learning to use this.
On the flip side of that, developers experienced in Mendix integrations will find this a cleaner, more efficient way to organize and implement their work.
As I mentioned, the connector is in beta. It doesn’t support PUT or DELETE actions at the moment, and we’re still working on adding the functionality to set constants for different authentication types in order to improve flexibility and security.
All in all, I enjoyed the new connector and found it a refreshing shakeup on how we work with REST in Mendix.